• Skip to primary navigation
  • Skip to main content
  • Skip to primary sidebar

My Obstacle Course: Engage, Encourage and Empower

A fun, structured, systematic way to work on your child's strengths and weaknesses at home!

  • Welcome to My Obstacle Course!
  • What is My Obstacle Course?
  • Developmental Timelines
    • What Is My Child Ready For?
  • About Us
  • Blog
  • Contact Information

Sensory

Cookie Cutter Decorating

While I love to cook, I cannot bake.  When I say I cannot bake, I mean I really cannot bake, not even cookies you drop onto a tray. This has been an issue all of my life and whenever I get up the courage to try again, I always end up with cookies that are either still raw or very crunchy (my husband kindly refers to them as “cookie crackers”).  At first I thought it was the oven but when my mother came to visit she was able to bake cookies just fine.  I think it’s just me and I am fine with that.

Providing Opportunities

I tell you this because while “everyone” else was baking and decorating Christmas cookies with their children, we didn’t do that in our house. Now, I don’t beat myself up too badly because I am pretty sure that even if I did bake cookies, Andrew would have very little interest in helping me decorate for more than a minute.  What I feel strongly about is giving him the same opportunities as other children, I just have to structure it differently.  I knew that if I created a cookie decorating station as part of My Obstacle Course, he’d only have to engage in this for a short time but would still get the chance to experience this holiday activity.

Since I don’t bake, I don’t have a lot of baking tools so while I was at our grocery store I purchased a fairly inexpensive cake decorating kit with different tips on it (I think it was $2.99), some holiday shaped cookie cutters and some whipped frosting.  I decided not to get actual cookies to decorate (which you could) but figured I could have him use the cookie cutters instead.  The cookie cutters provide a specific place to put the frosting so he doesn’t have to worry about it looking one way or another and the task was specific – “Fill the cookie cutter with frosting.”  I placed a cookie sheet underneath the cookie cutters to create an easy to clean work surface but you could go one step further and use either a piece of waxed or parchment paper or a paper plate.

Memories + Skill Building

Once I got thinking about this I realized that in addition to getting the chance to use a different kind of tool, he was also going to be working through some sensory discomfort (frosting on hands/fingers and the sweet smell of the frosting) while working on fine motor skills (squeezing the plastic bag so the frosting comes out) and planning (moving his hands back to the top, squeezing the frosting back down when the bottom was empty).  Anytime I can find an activity that targets lots of different skills like this I am thrilled!!

Cookie Cutter Decorating Station

My Obstacle Course station idea: Cookie Cutter Decorating

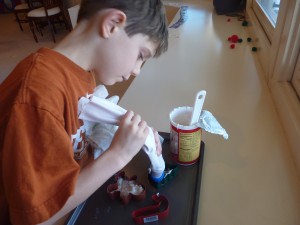
This was a very easy station to set up (the photograph above shows exactly what it looked like when we did it last week) and all I had to do was gather the materials.  I used the spatula to help scoop the frosting into the cake decorating bag and got some damp paper towels ready for him to wipe his hands when necessary.  He was very curious about this station and I first showed him how it worked, what to do and did some hand over hand to give him an idea of the amount of pressure needed to squeeze frosting out into the cookie cutter.  After that it was trial and error to figure out the best way to do it.

I am holding the top at first while he figures out how to squeeze the frosting to fill the inside of the cookie cutter.
He's not quite got it yet. Â His fingers are still sitting lightly on the bag, using very little pressure. Â I showed him how to squeeze with his fingers to get more frosting out of the bag.
Now he's got the hang of it! Note the change in hand position and the squeezed fists- great fine motor work!! Also note the wet paper towels nearby to help with the sticky frosting.
He is taking this task very seriously. It is something that has a beginning, an end and he knows what the expectation is - fill those three cookie cutters.

Extensions:

  • Change the tips of the decorator to compare and contrast them.
  • Use the decorator to make shapes, different kinds of lines (straight, wavy, horizontal, vertical, etc.), letters or numbers with the frosting.

Just A Thought: There are many things that we do that are a little bit different from other people and that is okay.  I always say, our normal is different from other people’s normal and when you think about it, everyone’s normal is different and that’s what keeps things interesting!!  Embrace your own normal today 🙂 !

Engage, encourage and empower!!
Snowy Sensory Bin

I have posted before on how much I love using sensory bins as activity stations in My Obstacle Courses (probably as much as Andrew loves having them!) and showed how to make a Sensory Bean Bin.  This Snowy Sensory Bin is perfect for a winter themed Obstacle Course and you can see it in action by watching the YouTube video clip at the bottom of this post.

My Obstacle Course station idea: Snowy Sensory Bin

Mini-Ornaments- Not Just For Trees Anymore!

When I made my first snowy sensory bin, I found a bunch of mini-ornaments for miniature trees and knew they would be perfect for this hide and seek type activity.  (Since the ornaments come in packages with more than one, which is all you will need for this particular activity, you could get together with some friends or other caregivers and put together snowy sensory bin kits, splitting the cost!)

Packages of mini-ornaments

How to make your own Snowy Sensory Bin:

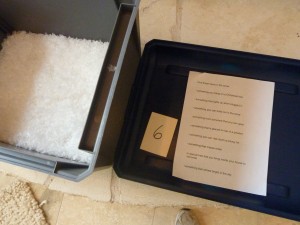
Once again, I used a storage bin that had a lid for easy storage.  The lid also serves to hold the items once found, reducing the amount of “snow” that ends up on the table or floor.  (Place a towel, sheet or a garbage bag underneath for even easier clean up!)

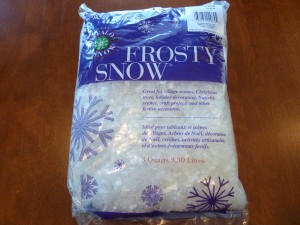
I found some fluffy fake snow at the store (Be careful not to buy the sheets of fake snow-like the kind used for winter village scenes. You want the fluffy snow that your child can dig through) and poured it into the bin.

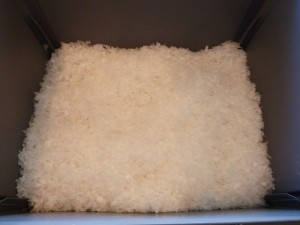
This "snow" works well because you can dig in it.
The fluffy "snow" up close.

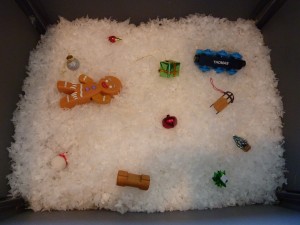
I gathered up my mini-ornaments and some toys that I associate with winter.

Here are the mini-ornaments and some toys I chose to hide in the snow.

Here is a great opportunity to add in some literacy:  print or write out the names of the items on a sheet of paper, leaving space so when found, the item can go next to its name.  Example:

  • Bell
  • Snowman
  • Colored Light
  • Gift (or present)
  • Train
  • Gingerbread Man
  • Bow
  • Sled
  • Ornament
  • Log (for a log cabin)

Using a list along with the objects helps you to know if your child understands what the word means or what the item is.  They don’t need to be able to speak to show you they know!

An extension of this is to print or write out clues for the item so your child has to think about which item goes with the clue.

Clues

Once that is done, hide the items in the snow and it is ready for your child.

Place the items in the "snow" and then bury them so they are not visible.
Items hidden and the bin is ready!

Here it is in action:

For those with sensory issues: Provide a glove or sock for your child to put over their hands so they can still dig in without having to touch the material or provide wooden spoons or sand shovels (something with a long handle) so they can use a tool to dig instead of their hands.  This is still giving them the opportunity to build motor skills by holding the handles, pushing the tool down into the snow and moving it around to find the items.

Pretend play- this is a great opportunity to engage in some pretend play skill building by talking about how cold the snow is and maybe how it snowed a lot and buried some things the people in the town need.  “Can we help the people find their things?  You bet!!”

Thematic Memory Match

One of my original goals when I began doing My Obstacle Courses with my son was to work on building his play skills, particularly turn taking since he is an only child and doesn’t have to do that very often.  As I looked through his toy closet, I noticed that we had accumulated a number of different memory match games (Sesame Street characters, shapes, colors, etc.) and I also remembered how much I used to love playing this game as a child.  I decided to try it out with my son and found it to be a perfect game for introducing turn taking and following directions when playing card games.

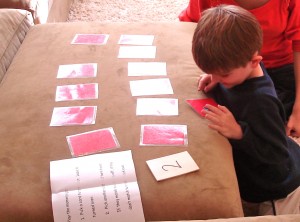
My son studying the card he flipped over. He loves the mystery of not knowing what is going to be on the other side of the cards!!

I realized that I could make my very own memory match games that would be unique to our theme and would allow me to work on attention to details and building vocabulary.  I could change it up frequently and easily by using thematic stickers and index cards.  It is so easy to make and the possibilities are endless!  Most importantly, my son loved the mystery of what stickers would be waiting for him when he flipped them over!!

How to make your very own thematic memory match game:

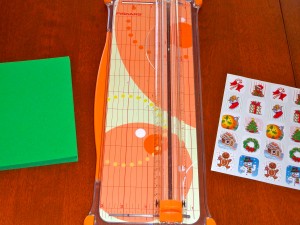
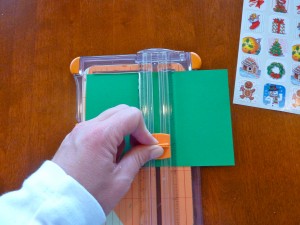
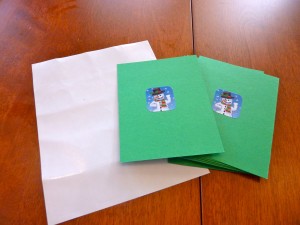
These are the three things I need to make a thematic memory match game: 10 4x6 index cards (will make 20 playing card size pieces), paper cutter (scissors work but the cutter is quicker and straighter), and a sheet of thematic stickers.
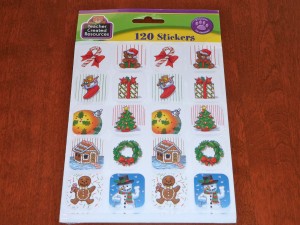
Step 1: Choose a package of stickers. If they don't have matching stickers on the same sheet like this one does, you can use the same sticker from two separate sheets.
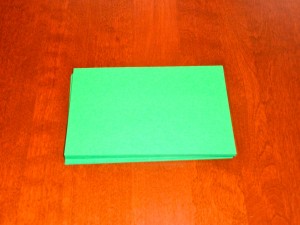
Step 2: Get 4x6 index cards. I usually use blank colored cards but white ones work as well.
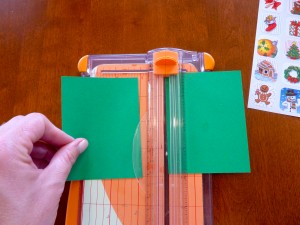
Step 3: Cut the card in half so you have two "playing card" size pieces.
Index card after cutting in half.
Thematic stickers with cut index cards- ready to put the game together!
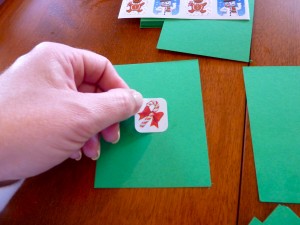
Step 4: Choose a sticker and place it in the middle of the card.
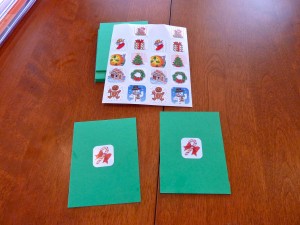
Step 5: Place the matching sticker on another card.
Continue with the other stickers...
until you have a full set ready for a game of Thematic Memory Match!

See it in action!

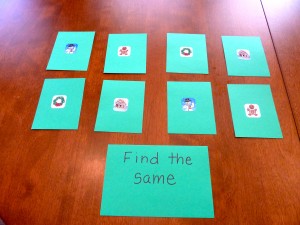
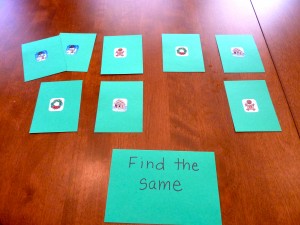
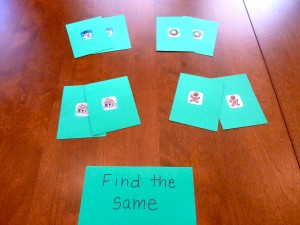
When first introducing this game to your child, you may want to start with a few cards facing up and working on finding the cards that are the same.
Matching up the cards that are the same. Next person's turn!
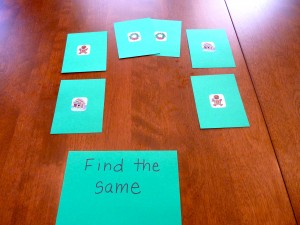
Another pair matched! Who's turn now?
Continue until all cards have been matched up into pairs.

Too easy?  Ready for a challenge?

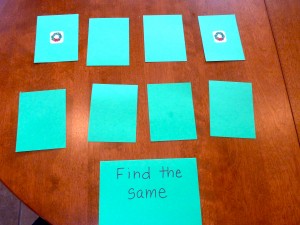
Thematic Memory Match game with cards face down.
Flip one card over at a time. Talk about what it is, any specific details about the sticker, any details or information about the object to help the child relate (Where or when do we see it? Is it real or make believe?)
Flip over another card. If they match, remove them from the game area. If they do not match, flip them both over and the next person takes their turn. It is important to watch what the other person flips over because it could help make a match later on!
Continue taking turns and finding matching pairs until they are all matched up.

Easy Add Ons:

  • More cards can be added to make it even more challenging.
  • If your child is ready for and is motivated by competition, keep track of the number of matched pairs to determine a winner.

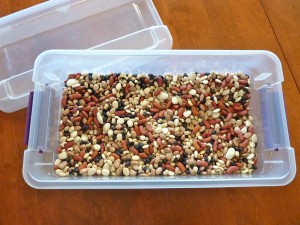
Sensory Bean Bin Add-In: Scrabble Letters

I love using the bean bin in My Obstacle Courses because I can work on my son’s sensory issues while combining it with things that he finds interesting.  He loves letters and words so for us it makes complete sense to combine the two!

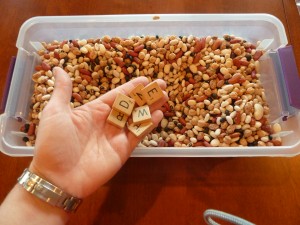
Most everyone has a Scrabble game in their house, a game that is new to me, Bananagram (which has Scrabble-like letters), or those colorful magnet letters for the refrigerator.  I realized that using items like these would be a fun, literacy based add-in to the sensory bin and could be used in many different ways.  Here are a few:

Letter Identification

1.  If your child is working on letter identification, place some letters in there and when they are found, identify them together.  One extension of this could be sorting the letters by vowel and consonant.

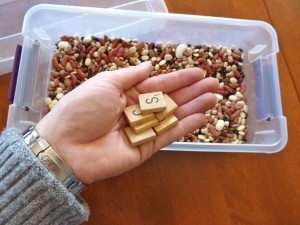
Adding Scrabble letters to the bin. They can be chosen randomly or if you know of certain letters that are stumping your child, use those!
Put the letters into the bin.
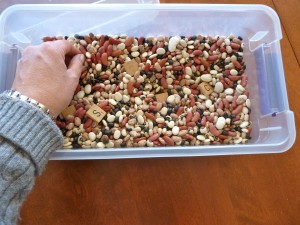
Push the letters down into the beans so they are well hidden.
Letters are hidden. Time for your child to dig in!!

Making Words- Child’s Name or Picture Card Word

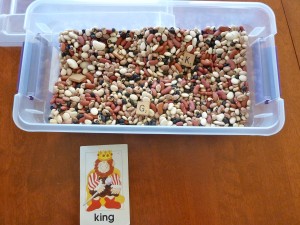
2.  Put only the letters in the bin that are needed to make a certain word (ex. their name or a word on a picture flash card).  Have your child find the letters and “make the same” word as on the card.

Use letters from their name!
Put the letters in and mix them to hide.
Your child digs in to find letters of their name.
Andrew found all of the letters to make his name!

Or…

Choose a card and put the letters to make that word into the bin.
Hide the letters in the beans.
Have your child dig in the beans to find the letters.
All of the letters found and put in order to make the word!

Mystery Word

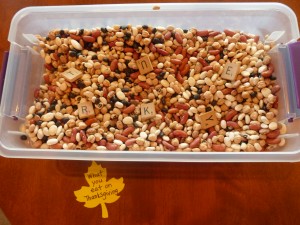
3.  Put only the letters in the bin that are needed to make a certain word based on your theme or something they are studying in school.  Write out a clue for your child to see if they can identify the word and spell it using the letters found.  You could provide a Hangman-type sheet of paper with the exact number of letters so they have a place to work with and play around with the letters until the word is figured out.  Additional clues can be given if it turns out to be too challenging- remember, this is supposed to be fun time with you!!

Write out a clue for the word you want to them to spell and then gather all of the letters needed to spell it. Â Now hide the letters before your child sees the answer!!
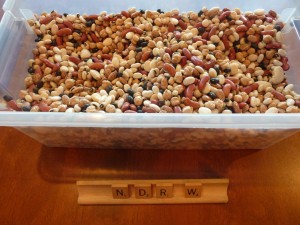
Letters to make up the mystery word are in the bin ready to be mixed into the beans and hidden.
Letters are hidden, ready to be discovered. Read the clue and your child can dig in!
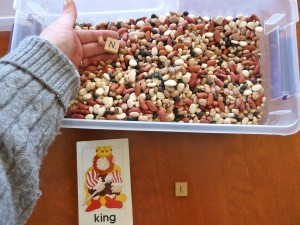
Use an answer card if your child needs assistance spelling the mystery word.
« Previous Page

Primary Sidebar

Obstacle Course Mom’s Blog

  • When People Stare, Mind Your Own Business
  • ABC’s of Peaceful Parenting Tele-class
  • What’s Perfect About This?
  • Exciting News!
  • Halloween

Categories

  • Blog
  • Cool Tool
  • Fine Motor
  • Getting Started
  • Gross Motor
  • Literacy
  • Math
  • My Obstacle Course Station Ideas
  • Oral Motor
  • Problem Solving
  • Sensory
  • Social Skills
  • Uncategorized

Archives

  • July 2012 (1)
  • May 2012 (1)
  • January 2012 (1)
  • November 2011 (2)
  • October 2011 (12)
  • September 2011 (14)
  • August 2011 (15)
  • July 2011 (19)
  • June 2011 (18)
  • May 2011 (21)
  • April 2011 (20)
  • March 2011 (22)
  • February 2011 (19)
  • January 2011 (21)
  • December 2010 (22)
  • November 2010 (6)

Meta

  • Log in
  • Entries feed
  • Comments feed
  • WordPress.org