• Skip to primary navigation
  • Skip to main content
  • Skip to primary sidebar

My Obstacle Course: Engage, Encourage and Empower

A fun, structured, systematic way to work on your child's strengths and weaknesses at home!

  • Welcome to My Obstacle Course!
  • What is My Obstacle Course?
  • Developmental Timelines
    • What Is My Child Ready For?
  • About Us
  • Blog
  • Contact Information

Getting Started

Summer Themed My Obstacle Course Finds

I’ve had a lot of people inquire about where I get my materials and seasonal items. I visit stores like Target, Michael’s and Walgreens because they have a lot of kid-friendly items that aren’t super expensive. I plan ahead so when they begin putting out items for the next season or holiday, I check out to see if there is anything to help me build the following skills:

  • Fine Motor
  • Gross Motor
  • Oral Motor
  • Literacy
  • Math
  • Social Skills

I also think about themes I want to do before I even enter the store. This helps me to notice items that would work and also helps to keep me focused!

In addition to doing My Obstacle Courses with Andrew, I love to share what I’ve learned as an educator and what I’ve learned from Andrew with other parents. This website/blog is one way I can do this but I also love to share in person. I am excited because I am having my summer themed My Obstacle Course session next week at Andrew’s school. This allows me to model for other parents some of the station activities I have that could help them build and reinforce skills specific to their own child’s needs. As part of my preparation for this, I visited Target and Walgreens to see what they had. I will share in this post what I picked up but you’ll have to check back to see how I plan to use them! 🙂

Finds from the Dollar Section at Target

Target’s Dollar Section Finds:

Water/sand wheel, sand play kit with sifter, velvet coloring pages, pop up ball catcher, dive rings, squishy ball and caterpillar that lights up and a beach ball.

Walgreens Purchases

Walgreens Finds:

Large squishy ball, dino-squeezers, frisbee, water blaster, water squeezers – truck shapes and fish shapes.

Looking forward to sharing my ideas with you!

Engage, Encourage and Empower!
Sample My Obstacle Course From Start To Finish

This is an outline of what I do when I set up My Obstacle Course for Andrew. This particular course is one we did a few years ago when he was 5 years old. I like to do 20 stations, which usually takes us about 45 minutes to an hour. Don’t panic at the number! This is what works for us but you can do whatever number works for you. Most of the stations are crawling through tunnels or if I know that a certain activity is more challenging for him, I break it into parts so he has a chance to move in between. The station activities are only meant to take a few minutes each but they let me know right away where he is with that skill or concept.

Personal Note: I consider this time with him sacred. I do not take phone calls, look at email, or fold laundry. I am there with him and he has my full attention. I have learned that he mirrors the attention and energy that I am giving him so if I am distracted or busy with something else, he will reflect that.  I want him to engage and work with me so I can help him and this time disconnected from everything but him is well worth it!

Sample My Obstacle Course From Start to Finish:

1. Choose theme (based on what they were doing in school) and review skills he is working on:

Theme: Land Transportation

Skills:

  • speech- practice /f/ and /s/ sounds
  • fine motor- scissors, gluing, clipping, printing, peeling and placing stickers, stringing beads, track building
  • cognitive/problem solving- creating models using blocks, concept sorting (air, land, water), choosing based on question (what does it do?), pretend play
  • social- listening and answering questions, greeting

2. Look through materials to see what I have:

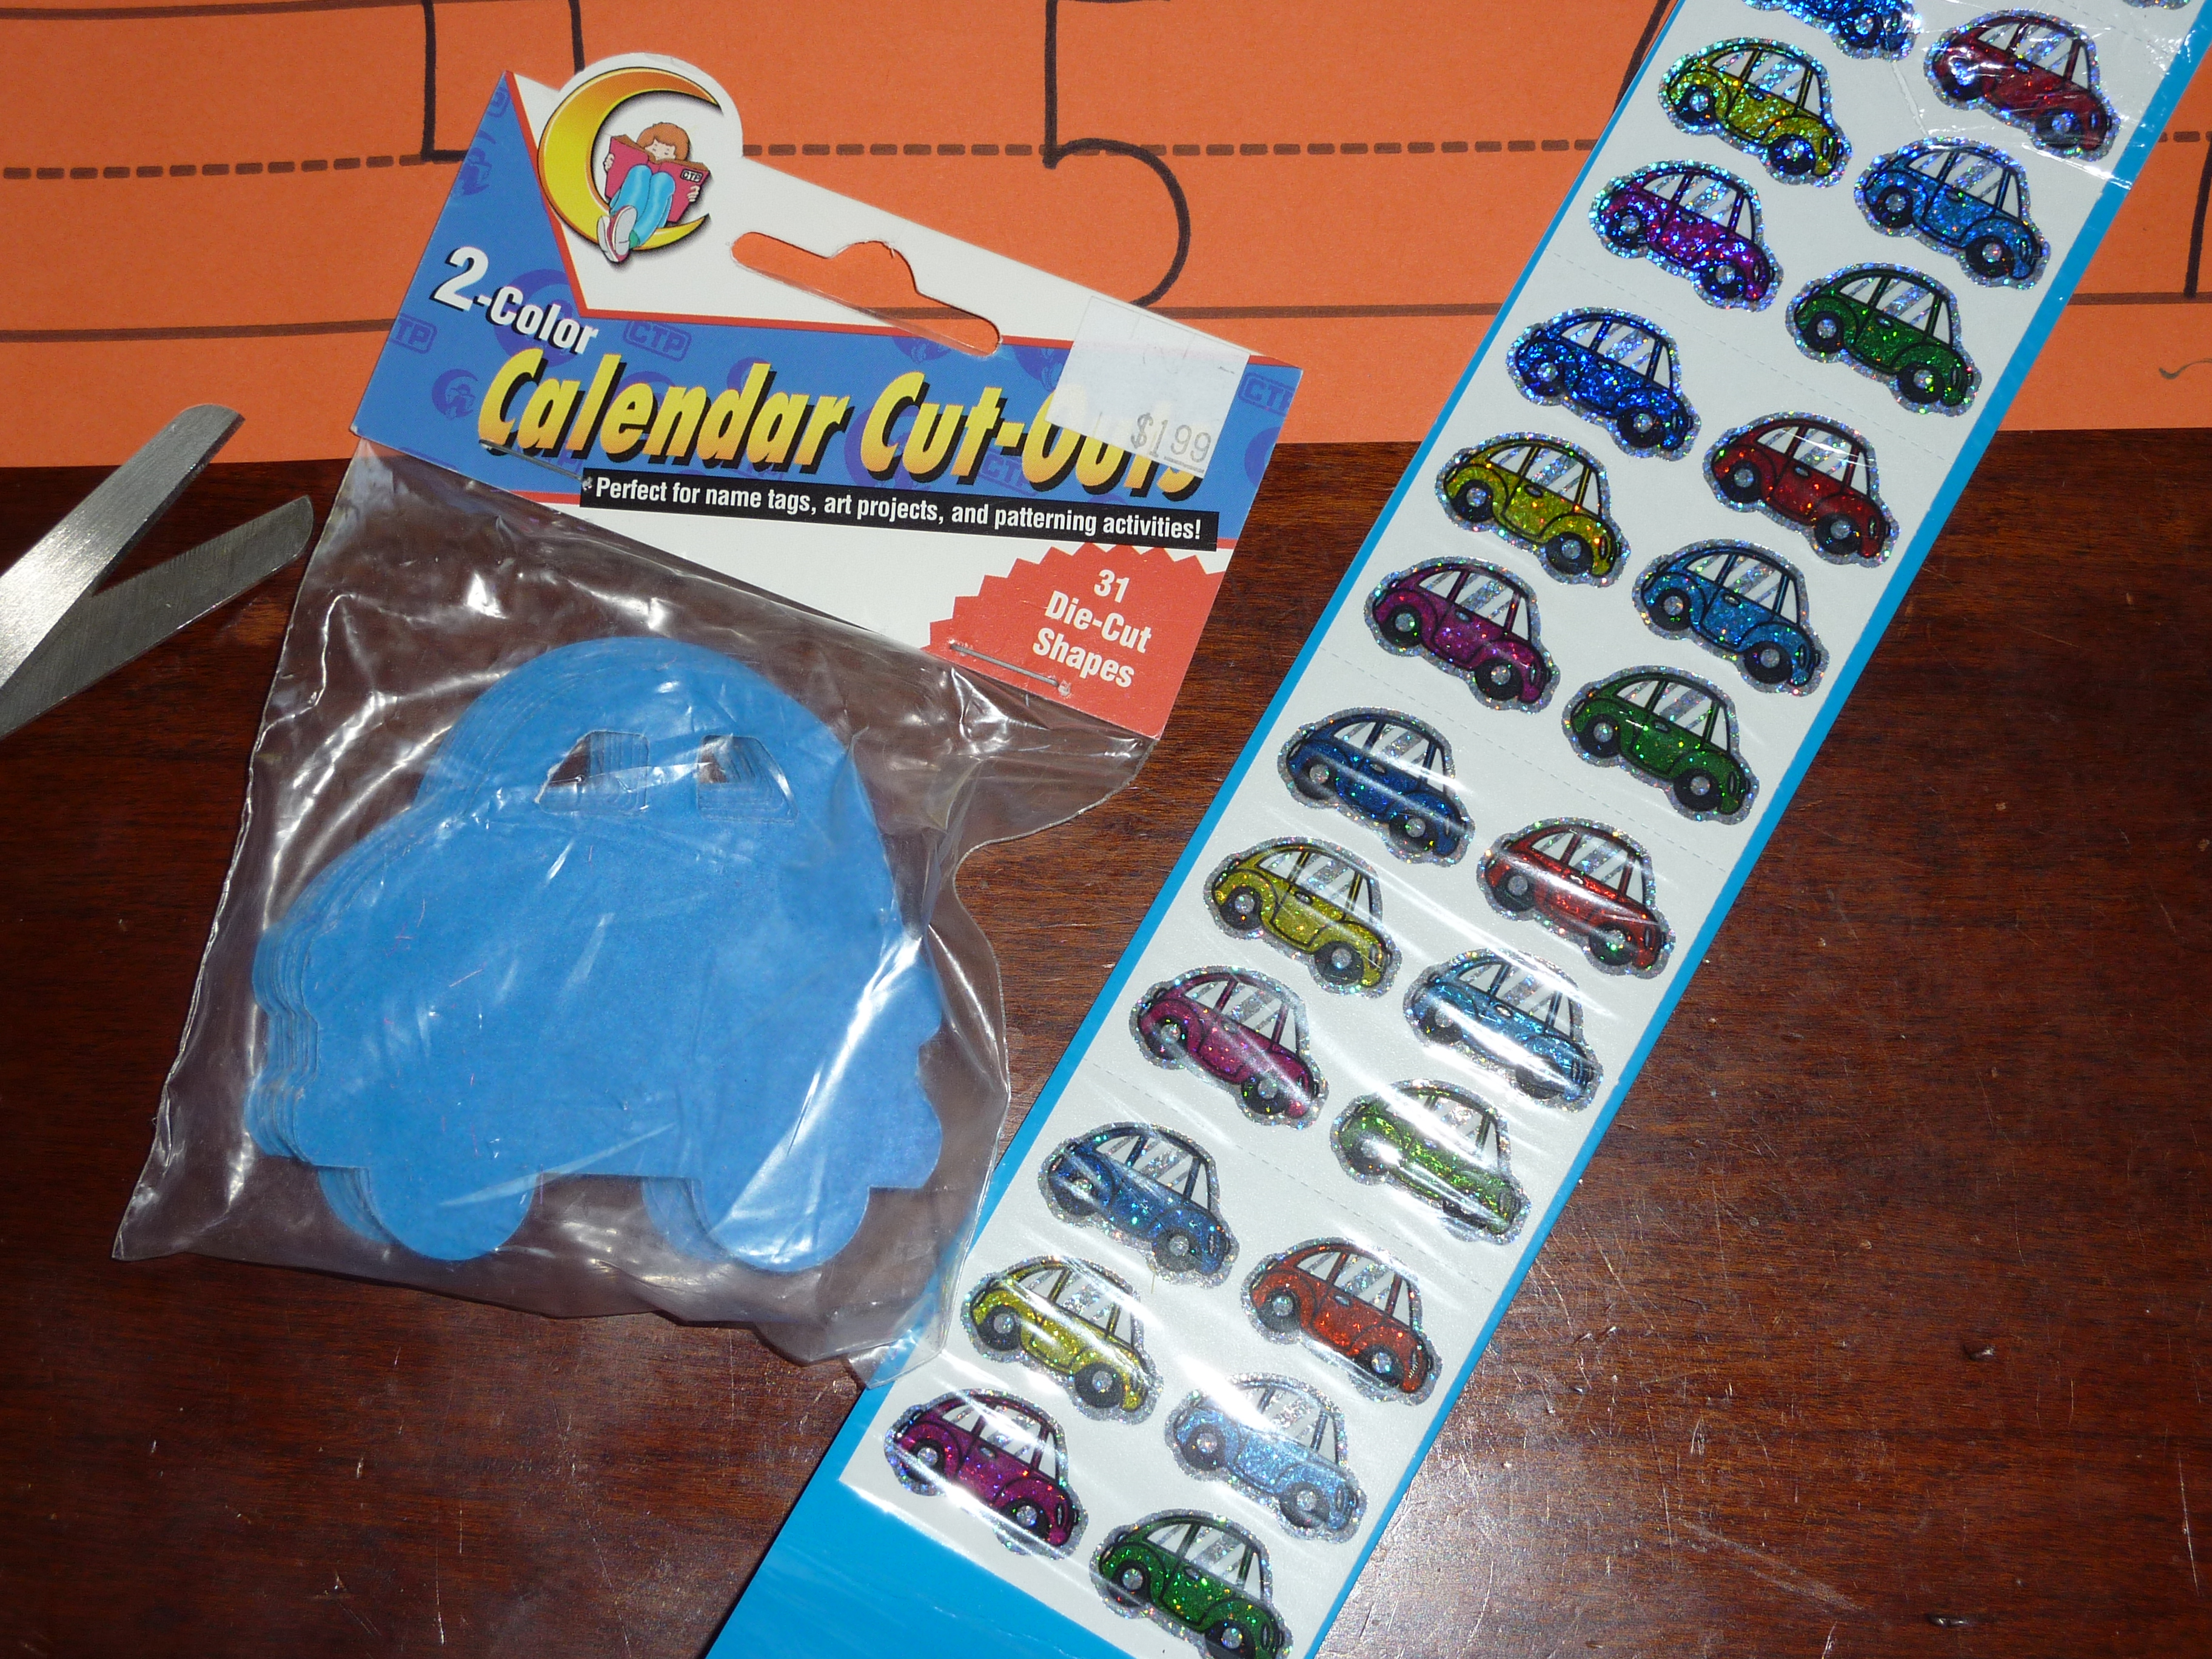
  • Car calendar cut outs
  • Car stickers
  • Vehicle manipulatives
  • Pattern blocks (tangrams)
  • Letter stamps
  • Letter beads for stringing
  • Scrabble letters
  • Construction paper, scissors and glue
Car calendar cutouts from Creative Teaching Press and car stickers
Vehicle manipulatives I got through the Scholastic book order, Scrabble letters and AquaDoodle.

3. Went on Enchanted Learning website (www.enchantedlearning.com ) to see what they had that I could incorporate:

  • Circle vehicles page- I could cut it up and turn it into a vehicle/non-vehicle sort
  • Beginning letter page
  • Vehicle picture/word matching page- I could cut that up and use it as clipping activity on clothesline or crawl and match on carpet runner
  • Vehicle book to practice printing vehicle words
Transportation vocabulary sheet from Enchanted Learning
More transportation pages from Enchanted Learning's website.

4. Went through toy closets to see what we had:

  • train and tracks
  • cars and trucks- could use for putting in order by size or have him get the vehicles that do a certain job (ex.  which vehicle tows?  which one hauls dirt? which one goes fast around a track?) or using a group of vehicles, match up the vehicles that do the same job (ex.  two tow trucks, two dump trucks, two fire engines, two race cars)
  • pretend play garage- could use with script to work on turn taking
Cars and trucks found during my "treasure hunt"
Train tracks and pattern pieces (Melissa and Doug) also found during "treasure hunt"

5. Made my list of 1-20 to scatter skills and activities throughout course:

  1. Social- hello!  how are you doing?
  2. Gross motor- crawl through tunnel
  3. Gross motor- ball rolling back and forth for visual tracking 10 times
  4. Cognitive/problem solving- unscramble scrabble letters to make vehicle words
  5. Math- vehicle manipulatives sorting (land, water, air) – which has most? which has least? how many in all?
  6. Fine Motor- write name on beginning sound paper (from Enchanted Learning)
  7. Literacy- beginning sound paper- circle beginning sound of each word
  8. Gross Motor- crawl through tunnel
  9. Fine Motor- string letter beads to write “train”
  10. Literacy- read “Go, Dog, Go!”
  11. Cognitive- pink bag with 8 vehicles to match up according to job (tow truck, dump truck, race car, fire engine)
  12. Pretend play- train track set up for Thomas
  13. Literacy/fine motor- clothesline clipping words (written on calendar cutouts) that rhyme with vehicle words, trying to include sounds he is working on in speech /f/ (ex. car/far, boat/float, train/plane, truck/luck, tow/low, race/face)
  14. Cognitive/Problem solving- “Make the Same” using pattern pieces to make car or train
  15. Cognitive/Problem solving- “What comes next?”  Patterning using car stickers on paper
  16. Fine Motor- cut out 3 pictures of vehicles from toy catalog
  17. Fine Motor and Literacy- writing one word- vehicle book from Enchanted Learning
  18. Fine Motor and Literacy- writing one word- vehicle book from Enchanted Learning
  19. Gross Motor- crawl through tunnel
  20. Literacy and Gross Motor- “Crawl and Match” vehicle pictures with words

6. Set up

Now is time for set up, which is easy because materials are gathered, plan is made.  Just a matter of arranging materials and doing some basic things like cutting, pasting and writing out some words.

Important Reminder – These are all skills and concepts that were at the level he was ready for. Every My Obstacle Course looks different because every child is different and every house has different materials, tools and toys. That is why I have the “My” in My Obstacle Course, because each Obstacle Course is customized for what an individual child needs. Talk about Individualized Education Plan!! 🙂

Engage, Encourage and Empower


Treasure Hunting At Home

When doing My Obstacle Courses with your child, start small and basic so you can learn firsthand about your child’s learning. Remember to have fun with this! Yes, there are a lot of things I want to help my child with but adding something like this made it so much easier to engage with him, encourage him in playful ways and empower him by helping him build his skills no matter where they are. Doing this with him gave me more information than I could ever have imagined and allowed me to see all that he was able to do instead of placing all of the focus on what he was not able to do.

Make It Engaging

This is where it really starts getting fun while also making a huge difference! Since the “sit at the kitchen counter” routine failed miserably for us, I knew I needed to “up my game” and decided to make this an adventure for him. I realized early on how easy it was to do this when using the structure of an obstacle course. (I tried many other ways which only resulted in me searching frantically for something to bribe him with. Not what I wanted at all!)

I didn’t want My Obstacle Courses to always be the same old, same old every time. This is why you will find me using a lot of thematic and seasonal materials. I also find that the most motivating and inspiring teachers are the ones who have some tricks up their sleeves, which is why I like to incorporate some mystery through the use of zippered bags and containers to hold materials or finding items around the house or in the grocery store to repurpose for skill-building. Because of this, he is so excited about engaging with me and is always curious about what he is going to find at the next station.

Treasure Hunting At Home

This idea came to me while brainstorming ways to work on skills. My first thought was, “Oh, now I need to go to the store and get a bunch of stuff specifically to work on these with him.” But as I was getting his clothes ready for bed one night, I looked around at all of the toys that he hadn’t been playing with and it hit me like a ton of bricks! They were just sitting there waiting to be used and so I did a mind-shift. Instead of being disappointed by how he wasn’t playing appropriately with them, I had this flash of ways and ideas for how I could use them, just not as they were intended to be used. I had the skills I wanted to help him with in my mind and chose toys that could help me build those skills.

Andrew’s closet wasn’t the only place I hunted. I discovered all sorts of wonderful learning and skill building tools all around the house. Board games we had accumulated held all sorts of goodies (dice, dominos, Scrabble letters, etc.). Our cooking tools were now fair game (whisks, wooden spoons, basting brushes, mixing bowls, measuring cups, plastic containers, etc.) as well as travel bags (which have lots of zippers and snaps for fine motor skill building!) and tote bags.

Kitchen cupboards held lots of items perfect for sensory work. Rice, pasta and dried beans were used to make sensory bins (Sensory Bean Bin). Salt, sand and shaving cream were combined (separately 🙂 ) with trays to make sensory writing stations. (Here is one post on that: Foil Pan Salt Writing. You can check my website for other ideas!)

When I wanted to work on identifying textures for sensory awareness I looked through drawers and closets finding scarves, sweaters, sandpaper, bubble wrap, cotton balls, aluminum foil, those green mesh-y things they put around glass containers so they don’t crack, cheese-cloth, etc. Once I started doing this, I became like a squirrel and would find treasures all over and stash them away to use in a future Obstacle Course!

There were also things like collapsible tunnels, a sit and spin, a mini-trampoline, balls, mats, stairs and chairs that could be used to build gross motor skills and meet sensory needs. I have found that most people who have children with sensory issues or developmental delays have tools and toys like these. Why not combine them with another skill area and create a more purposeful activity?

I encourage you to think about the skills you want to work on with your child and go on a little “treasure hunt” of your own. You will be amazed at all that you already have!

Engage, Encourage and Empower!


Skills? Check. Now What?

The last two posts have introduced you to how I approach working with Andrew at home by meeting him where he is, providing activities that are developmentally appropriate for him and knowing what he needs to work on and where we are heading with those skills. Hopefully you have some ideas for skills you want to work on with your child. I can honestly say that when we first compiled our list of skills to work on, I was a bit overwhelmed thinking I had to work on everything right then and there. I realized early on that trying to do too much at once was not going to work and would only drive me crazy. I always remind myself that making progress only requires taking one step at a time. It doesn’t matter if it is a big step or a little step, either one moves me, and in this case Andrew, forward 🙂 .

Conquer by Choosing and Combining

I decided that the best way for me was to pick one or two skills from each area to focus on and find ways to combine those with other skills. Here are the skill areas I incorporate:

  • fine motor
  • gross motor
  • oral motor
  • literacy
  • math
  • sensory
  • problem solving
  • social skills

(You can find these on my website and if you select a skill area, it will show you past posts that are focused on that area. This is a great place to find activities, which can be adapted to most seasons and themes.) I will explain more about this in Friday’s post about planning and preparation, but for now think about one or two things from each of these areas that you’d like to work on with your child.

Sneaking In Skill Building

Whenever possible, I pair up a skill that may be more challenging or considered a weakness with one that is a strength (Ex. literacy and fine motor; math and gross motor). I have found that this helps take attention from something that they know they are not strong in by allowing them to build it along with something they feel good about. A great example of this was my recent post on Giant Alphabet Beads. Andrew was willing to work on his stringing/lacing because it was combined with a preferred activity, something he is good at – spelling. Doing this always reminds me of how Jessica Seinfeld, author of “Deceptively Delicious” sneaks vegetables into kid-friendly dishes. I’m trying to sneak in things that may not be very exciting to work on into fun, kid-friendly activities. This is especially important for children who are very active and like to be moving. Activities that encourage and allow children to be moving while working on another skill makes it so much easier to engage them. The fact that both sides of the brain are activated through cross patterning activities (like creeping, crawling, walking, running, monkey bars, swimming, etc.) doesn’t hurt either :).

Modifying and Adapting Station Activities

The station activities that I share are designed to give you a general idea of ways to approach a certain skill. Please know that most of these can be modified and adapted. I just try to explain the what, why and how so that I can help other people who may be needing something similar. Do not be discouraged if there may be skills that you have to break way down. The following is an example of having to do just that with a skill we were working on…

Skill:  Can build with blocks horizontally and vertically.

Andrew had a very difficult time getting this skill and so I broke it down into a very simple task. The first time, I provided 3 blocks for him and made a model (with the exact same blocks) for him to use as a reference. I wrote out the directions, “Make a tower with 3 blocks.” When he started lining up the blocks next to each other, I pointed out the model and told him we were going to build the tower up and to see if he could “make the same.” After that redirection, he got to work stacking the three blocks. The next time, I did it without the model and the time after that I tried it with 4 blocks, slowly increasing the number of blocks so he would get the concept. This was not something that happened overnight but with a slow and gradual progression, he was learning that a) he could do it, b) there were ways to position the blocks so that they wouldn’t tip over and c) the amount of pressure and steadiness of his hands so that they wouldn’t knock over the blocks when placing one on top. Doing it like this allowed me to engage him in a way that was challenging yet not impossible, encouraged him by showing him that he could do it and empowered him by acknowledging his success and modifying the activity when he did it.

Personal Note: I feel like I have enough information to teach a class on this alone. I hope this is helpful. As always, if you have any questions, feel free to email me at obstaclecoursemom@yahoo.com. Thank you for allowing me to share with you!!

Tomorrow I will share about how to make it engaging, utilizing all learning styles and treasure hunting at home.

Engage, Encourage and Empower!
 

Meet Them Where They Are – Part 2

A re-post for “Getting Started” week.

Meet Them Where They Are – Part 2

It was so great to hear from all of the people who agree with the importance of meeting children where they are. This is something that seems so basic and obvious yet can get overlooked when fear and frustration take over. So, while it is important to meet them where they are, how do we know “where” they are? I have spent a good deal of time trying to find resources to make it easy for people to do this and there isn’t a whole lot out there that is useful for parents. All I could find was the “Your child is __. A __ -year old should be doing this.” These were not helpful at all because I had a __-year old and they were not doing what they were “supposed” to be doing. I needed to know where my child was with regards to individual skills so I could figure out how to move him along.

Four years ago I began working with a student in the school of education who is now teaching early childhood students at a local school. She happened to be taking a graduate class on child development when I mentioned to her how hard it was to find timelines with specific skills so I would know where to start with Andrew. She went home, went through her course handouts and found these fabulous timelines that were exactly what I needed. I loved them (and still do!) because they listed out the general skill area and broke down the skill’s progression from birth to around 6 years. While the sources are documented, I went online and could not find the originals or the textbook that they were from, (very disappointing!) but what mattered was that I found something I could use to figure out where I needed to start.

Developmental Timelines

Developmental timelines (I had to retype them because we had written all over ours.)

My husband and I sat down with these timelines and with some very honest consideration, marked the skills that he could absolutely do independently and knew that the next part of the skill was where we needed to place our focus.

Important to note: While there were ages marked next to the skill, we realized that they didn’t matter. What mattered was that he was where he was and if we were going to help him progress, than that was where we needed to meet him. I also have a version on my website under Developmental Timelines that gives an example of how I look at a certain skill with Andrew to determine where we need to start. I removed the ages and turned it into a survey so I can help provide people with activities to build specific skills.

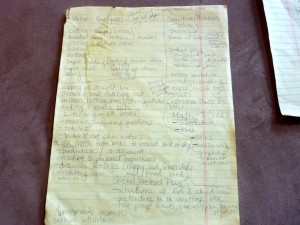
Our actual notes from going through the timeline, dated June '08 with review in Jan. '09.
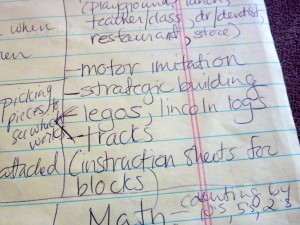
Notes up close showing skills we were focusing on and crossed out when we reviewed them 6 months later - progress!

We wrote down the different skills and that was when I got busy brainstorming. I would think of the skill, think of materials or toys that we had that could help build this skill and create a quick and basic activity station so we could work on it. At first glance, My Obstacle Courses in our house may look like a mish-mosh of activities but if you look closely, you will see that each station is focused on building a developmental or academic skill, usually with a thematic twist.

My brainstorming notes for each area.
My notes up close.

It is really cool doing My Obstacle Courses with Andrew because the stations are always designed to be working on skills at the level he is ready for and he is so engaged! When I first began doing this it was such a great feeling and further reinforced the importance of starting where he was. I was helping him build the foundation instead of tossing skills at him that he wasn’t ready for. This is when we really began to see progress and it felt amazing!

Engage, Encourage and Empower!
Meet Them Where They Are – Part 1

I am re-posting this because I am doing a series this week on how to get started with doing your own My Obstacle Courses at home. I have been getting a lot of emails from people who are excited to try this with their children but need a little direction about how to start. Hopefully the next few posts will help with that! As always, if you have any questions about a post, need specific modifications for ideas (making them easier or more challenging) or if you have a skill you’d like me to do a post on, feel free to email me at obstaclecoursemom@yahoo.com or post on My Obstacle Course’s Facebook page wall. I really love to hear from you and want to help you engage, encourage and empower your child!

Meet Them Where They Are – Part 1

I say it all of the time, “focus on meeting your child where they are developmentally and academically instead of where they are “supposed” to be according to their chronological age.” This is something that made a HUGE difference for us and really allowed us to help Andrew the most. I thought I would explain a bit more why I feel this way…

Closing The Gap

I don’t know if it was just me, but once we “officially” realized that he had delays (15-18 months old), the major push was to get him doing things his chronological peers were doing. There were gaps between them and it seemed like someone had pushed the pause button on his developmental growth (or at least slowed it drastically). I didn’t know what else to do but to accept the help from early intervention specialists and hope that everything I was doing would make a difference.

As the years progressed, the gaps became even bigger and when he started pre-school there was a more urgent need for him to suddenly behave and act like a typically developing 3-year-old. I continued to try to work with him on the skills that 3 year olds were supposed to be doing, saw very little improvement and wondered how I was ever going to close the gaps. I was frustrated and felt hopeless. (I now know why! Ah, hindsight!!)

I hear stories like this all of the time, especially with older children who have learning disabilities that don’t creep up until reading issues begin impacting their grades or they just cannot seem to grasp fundamental math concepts. As a parent, you sit in evaluation meetings or parent-teacher conferences hearing about your child’s struggles and feel like right then and there they should be working on flash cards, you’re on the phone trying to hire a tutor or begin purchasing computer programs or apps to quickly get your child doing what their peers are doing. Parents get the message that something needs to happen. It needs to happen quickly and it is important for their child’s success in school. What they aren’t usually told is where to start or what to do. Hopefully there are people out there who cannot relate to this and were sent home with very specific instructions and skills to work on but that was not my experience.

Why Should You Meet Them Where They Are?

If you want to help your child make progress, you need to meet them where they are so you can give them the foundation for later skills and concepts. If this is not done, it is like giving a 7-year-old a bike with NO training whatsoever – no little scooter, no big wheel type toy, no tricycle – just plopping them onto a bike and saying, “Here you go! Seven year olds are supposed to be able to ride bikes. You are seven, so you shall ride! See you at dinner time.” That would be absurd! The small steps that come before are huge in building the foundation for this other, more complex skill. They need to learn how to process what they are seeing while moving on a toy. They need to learn how to stop themselves, hopefully before or without crashing! They need to learn how to steer and pedal and do it all together on 3 or 4 wheels (if you count the training wheels). When they have these experiences, they are better prepared to get on a 2 wheel bike, balance themselves while pedaling, steering and applying the brakes when necessary. Developmental and academic skills are no different and expecting a child to fully understand or be able to do things before they have the prior skills necessary is only setting them up for failure.

Just Like In Goldilocks And The Three Bears: Too Easy, Too Hard, Just Right

This also plays a huge role in your child being motivated to engage in activities you provide. If you provide things that are too easy, they will be bored and will find things to do to entertain themselves. I always think of what it is like to be sitting in a meeting or class where I already know what they are discussing. What do I do? I tune it out, I doodle or make “To do” lists. I also learned firsthand what this looks like in children – avoidance behaviors and attention issues. Andrew taught me this when I was continually putting out ABC matching activities when he was actually ready for much more difficult things. What did he do? He looked at the ceiling, laid on the ground, found things to spin, basically he did anything but the activity and found ways to entertain himself. I finally asked him, “Is this too easy or too hard?” His response, “/oo/ /e/-/e/.” (Too easy.) I got the message, made things more challenging and he was back!

If you provide things that are too difficult, they may try at first but will eventually give up knowing that they cannot possibly succeed. Think about what it would be like to all of a sudden be dropped into a meeting at NASA right before a shuttle launch, unless of course you are a rocket scientist and in that case you’ll have to think of something different! You would probably tune out as well because there’s no way to fully understand everything that is being discussed without prior knowledge. For Andrew, this involved any sort of ball activity. Before realizing this, I was feeling like if we just continued to do what we had been doing but practiced it more, he would get it. Wrong! He needed to work on skills that were much more basic, like visual tracking, before being expected to stand a few feet away from me to pass and catch a ball. He showed me this by not looking at the ball. He would not try at all and the ball would just hit him in the chest and bounce away. Once I changed my approach, he was willing to play with me.

Providing activities that are just right for your child will not only help them build skills they are ready for, they will also be more motivated and excited to do them. Looking at an activity and knowing that success is possible makes it worth the time and energy required. I can see it in Andrew’s face when he gets to a station, he looks it over, almost like he is deciding if it’s something he can do and if so, then he jumps right in. Remember that motivating children to work on things they need is no different from motivating ourselves to do things we need to do. Those things may not be preferred activities but if there is a chance at success and that someone is there to help me if I get stuck, I know I’m more willing to give it a go!!

In Part 2 of this post, I will share with you how we figured out where Andrew was and offer some tools that you can use to do the same with your own child.

Thank you for allowing me to share with you - Margaret

Engage, Encourage and Empower!

« Previous Page
Next Page »

Primary Sidebar

Obstacle Course Mom’s Blog

  • When People Stare, Mind Your Own Business
  • ABC’s of Peaceful Parenting Tele-class
  • What’s Perfect About This?
  • Exciting News!
  • Halloween

Categories

  • Blog
  • Cool Tool
  • Fine Motor
  • Getting Started
  • Gross Motor
  • Literacy
  • Math
  • My Obstacle Course Station Ideas
  • Oral Motor
  • Problem Solving
  • Sensory
  • Social Skills
  • Uncategorized

Archives

  • July 2012 (1)
  • May 2012 (1)
  • January 2012 (1)
  • November 2011 (2)
  • October 2011 (12)
  • September 2011 (14)
  • August 2011 (15)
  • July 2011 (19)
  • June 2011 (18)
  • May 2011 (21)
  • April 2011 (20)
  • March 2011 (22)
  • February 2011 (19)
  • January 2011 (21)
  • December 2010 (22)
  • November 2010 (6)

Meta

  • Log in
  • Entries feed
  • Comments feed
  • WordPress.org