• Skip to primary navigation
  • Skip to main content
  • Skip to primary sidebar

My Obstacle Course: Engage, Encourage and Empower

A fun, structured, systematic way to work on your child's strengths and weaknesses at home!

  • Welcome to My Obstacle Course!
  • What is My Obstacle Course?
  • Developmental Timelines
    • What Is My Child Ready For?
  • About Us
  • Blog
  • Contact Information

Archives for November 2010

Sensory Bean Bin Add-In: Scrabble Letters

I love using the bean bin in My Obstacle Courses because I can work on my son’s sensory issues while combining it with things that he finds interesting.  He loves letters and words so for us it makes complete sense to combine the two!

Most everyone has a Scrabble game in their house, a game that is new to me, Bananagram (which has Scrabble-like letters), or those colorful magnet letters for the refrigerator.  I realized that using items like these would be a fun, literacy based add-in to the sensory bin and could be used in many different ways.  Here are a few:

Letter Identification

1.  If your child is working on letter identification, place some letters in there and when they are found, identify them together.  One extension of this could be sorting the letters by vowel and consonant.
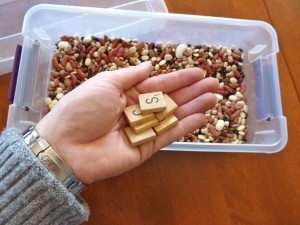
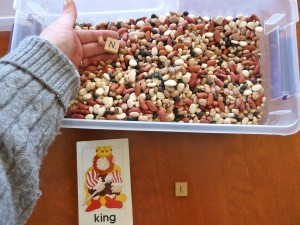
Adding Scrabble letters to the bin. They can be chosen randomly or if you know of certain letters that are stumping your child, use those!
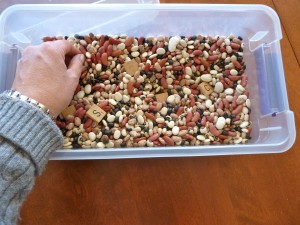
Put the letters into the bin.
Push the letters down into the beans so they are well hidden.
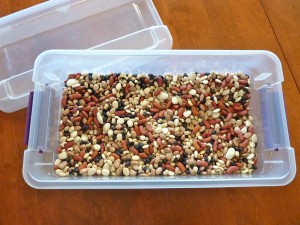
Letters are hidden. Time for your child to dig in!!

Making Words- Child’s Name or Picture Card Word

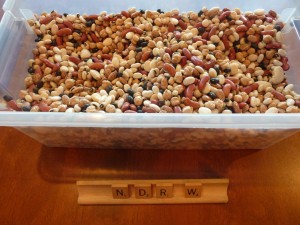
2.  Put only the letters in the bin that are needed to make a certain word (ex. their name or a word on a picture flash card).  Have your child find the letters and “make the same” word as on the card.
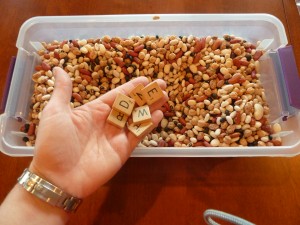
Use letters from their name!
Put the letters in and mix them to hide.
Your child digs in to find letters of their name.
Andrew found all of the letters to make his name!

Or…

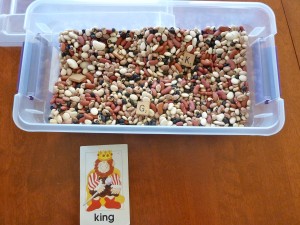
Choose a card and put the letters to make that word into the bin.
Hide the letters in the beans.
Have your child dig in the beans to find the letters.
All of the letters found and put in order to make the word!

Mystery Word

3.  Put only the letters in the bin that are needed to make a certain word based on your theme or something they are studying in school.  Write out a clue for your child to see if they can identify the word and spell it using the letters found.  You could provide a Hangman-type sheet of paper with the exact number of letters so they have a place to work with and play around with the letters until the word is figured out.  Additional clues can be given if it turns out to be too challenging- remember, this is supposed to be fun time with you!!

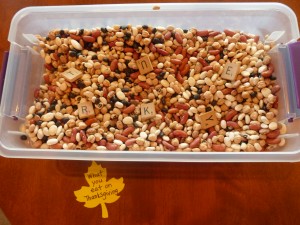
Write out a clue for the word you want to them to spell and then gather all of the letters needed to spell it. Â Now hide the letters before your child sees the answer!!
Letters to make up the mystery word are in the bin ready to be mixed into the beans and hidden.
Letters are hidden, ready to be discovered. Read the clue and your child can dig in!
Use an answer card if your child needs assistance spelling the mystery word.

Cool Find- Textured Rubbing Plates

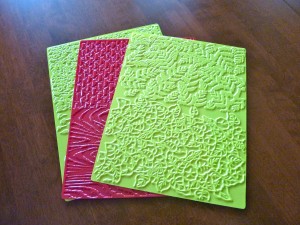
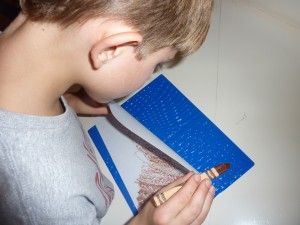
My son HATES to color.  He doesn’t see the purpose in it, knows he’s not great at it (getting better since starting OT for fine motor skills) so he literally looks elsewhere while he is coloring.  That said, it is something that I have tried many different ways to make purposeful for him and haven’t been too successful.  While I was at the teacher store (Teacher Heaven), I came across these textured rubbing plates, which are basically plastic pieces the size of a sheet of paper with raised parts so when colored upon, they reveal different patterns and shapes.  I got one package with these three sheets of nature patterns to see if he would be into them but they also make sheets with animal prints.

Textured Rubbing Plates

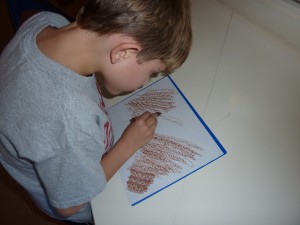
We tried them out and it worked!  He colored for almost a whole minute, which for us is HUGE!!!

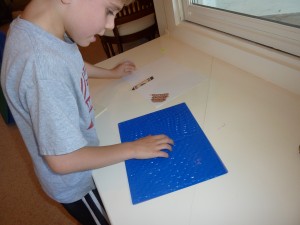
Checking it out- he's interested!! Â I showed him how to put the paper on top and how it worked by coloring back and forth.
He's coloring! He's not only looking at what he's doing, I think he's even got the right grasp!
Always curious. He has to see how this is working.

This is also something that you could do with other things such as leaves, place mats, coins, corrugated cardboard, etc. – basically anything that has a good texture to it.  If you are like me and like to have things contained, you could create a texture bin to store different textured items that you come across.  This would not only help you store materials for a station activity like this, it could also be part of a station activity where your child chooses 2 or 3 textured items to experiment with and color upon.

Bean Bin

Seasonal Sensory Bean Bin

If you walk into most preschool classrooms and/or occupational therapy rooms, chances are you will find something called a sensory bin.  This is something that most children enjoy and if your child has sensory issues, is something that can be used to help get them more comfortable with different textures.  I like to use this as an obstacle course station combining a sensory based activity (digging with hands into the beans) with thematic vocabulary, literacy or math skills to make it more purposeful.  I find that with my son, he is more willing to engage in something if there is a purpose to it.

There are many different variations of the sensory bin.  The one I am going to show you is very easy to make and when I put it together it just looked like something that belonged in an autumn themed obstacle course!  Are you ready to dig in?

Step 1: Begin with an empty bin, preferably with a lid so it can be stored for future uses without the risk of spilling.
Step 2: Purchase a variety of dried beans. I like to use lots of different kinds to make it more colorful.
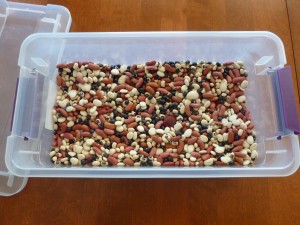
Step 3: Fill the bin about 1/2 full with the dried beans. Mix them up and it's ready to go!
Step 4: I like to hide items that go with the theme to help build vocabulary as well as math skills of counting and sorting.
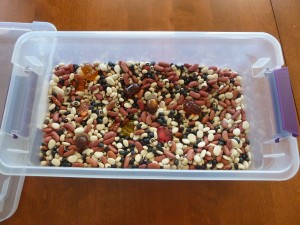
Some colorful, plastic pieces in the shapes of acorns and leaves to find in the bean bin. Once found, they can be counted or sorted. Â With these particular pieces, I would write out "leaf" and "acorn" so they could sort them while also getting seeing what the word looks like.
Now you see them...
Now you don't! Items are pushed down into the beans so it's all set for your child to dig in there and find the hidden treasures.
I’ve got all sorts of ideas for things to hide in sensory bins so stay tuned to see how easy it is to slip in literacy and math while your child is engaged in a sensory based activity.

Leftover Foil Pan? Just add…

So Thanksgiving has come and gone, we are all wishing our pants had that wonderful stretchy fabric found on maternity pants and we are dealing with all of the leftovers.  Here is an idea for a leftover you may have that will not add any inches to your waistline, a foil pan you can use with your children either as an Obstacle Course station or as a “keep them occupied” activity.  This is a fun and easy activity that can be made even more fun with a few basic add-ons.

Leftover Foil Pan + Shaving Cream = Fun Space for Drawing, Writing or Just Playing

So easy and so fun along with the added bonus of having the mess, I mean fun, contained!

How to make your own:

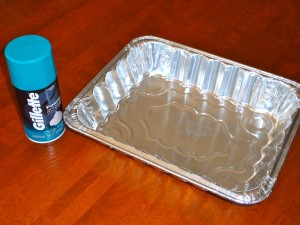
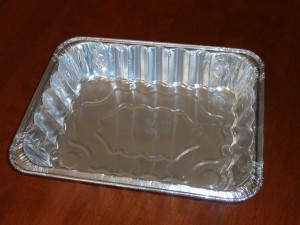
Step 1: Get a clean, empty foil pan and a container of shaving cream.
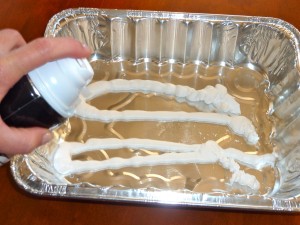
Step 2: Spray shaving cream in the foil pan. Â I just made rows but you could try to spray your child's name or make a happy face!
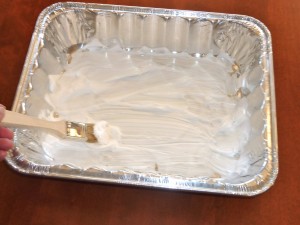
Step 3: Now it's time for your child to spread or paint the shaving cream so it covers the bottom of the pan.
Step 4: Â Once the bottom is covered, it's ready for drawing or writing. When your child is finished, clean up is easy- just rinse and let dry for the next time!

Easy Add On:  Food Coloring

Add some food coloring drops for a colorful variation.
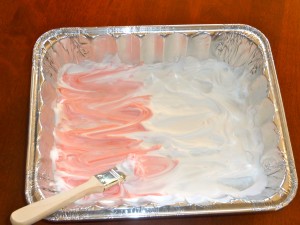
Here, I added some red food coloring drops to the shaving cream.
Use a spoon, brush or spatula to mix the food coloring into the shaving cream.
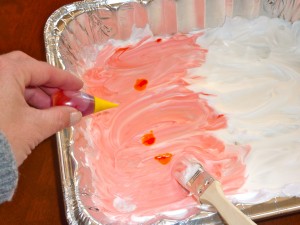
I wanted some autumn colors so I added some yellow food coloring drops to the red to make orange.
Orange shaving cream ready for some drawing, writing or more painting! Rinse and dry when finished so it's ready for the next time.

Some of you out there will have children who cannot wait to get their hands into the shaving cream as soon as it is squirted into the foil pan.  I do not have one of those children, he’s getting better, but he’s more likely to do something like this if he has some tools to protect his hands from getting gooey.  I have used pastry brushes, both silicone and the regular kind, with him so he can “paint” the shaving cream across the bottom of the pan.  A spatula also works well for this activity.  I like to add some drops of food coloring around the shaving cream so he can experiment with mixing in the color as well as combining the colored cream to make different colors.

Foil Pan Salt Writing

Since the foil pan (or roasting pan if you prefer something heavier) has very deep sides, it makes it a great container for things that otherwise would get all over the place.  When doing station activities like this, activities kids can really get into, there are things you can do to make your life a bit easier.  Place a towel, placemat, tablecloth, etc. underneath the pan, bin or tray so you can just dump anything that spills over into the sink, garbage can or out in the grass.

Idea #2:  Salt Writing/Drawing Station

It is so easy and provides some sensory input while promoting the fine motor skills of drawing and handwriting.  If your child does not like touching this, try using the non-spoon end of a wooden spoon.  The salt writing station allows children to play, draw and write in a sand-like material without the icky feeling of having sand sticking to their hands. Knowing my child’s love of salty things, he may end up licking his fingers just to get to taste it!

Here’s how you get your very own salt writing tray!

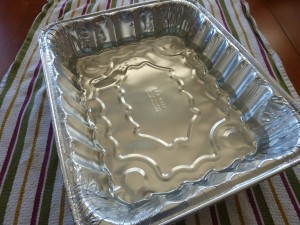
Step 1: Get an empty foil pan.
Step 2: Get some fine salt and pour it into the pan, creating a layer of salt that covers the bottom of the pan.
Step 3: It is now ready for your child to start writing...
or drawing!

I’m Thankful for…Foil Pans!

When I think of November, I think about cozy, autumn days spent at home.  My mission this month was to find some ways to help you build your child’s skills at home while using things that you most likely have.

The Foil Roasting Pan

The Foil Roasting Pan made it’s appearance at the end of the grocery aisle, symbolizing it’s importance and usefulness at this time of year.  When I see these I think of stuffing, turkey, most importantly, easy clean up!  I know that I am more willing to do something messy with my son if it is contained a bit.  I saw the foil pans and had a number of ways to put them to use as stations, allowing children to have fun while also building skills.

Idea #1:  Just Add Water for Turkey Baster Fun

This is an easy station idea that works to build fine motor skills and play skills.

Step 1: Â Begin with an empty foil pan.
Step 2: Fill the pan with some water (not all of the way to the top, between 1/4 and 1/3 full) and place on top of a towel to catch spills.
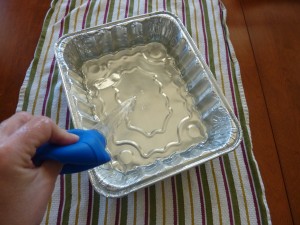
Step 3: Add a turkey baster and show how to squeeze the bulb to suck in water.
Step 4: The turkey baster is now completely filled up with water.
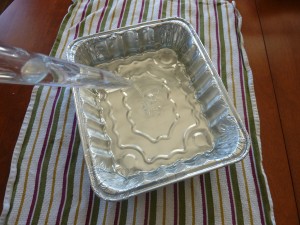
Step 5: Squeeze the baster to squirt the water back into the pan.
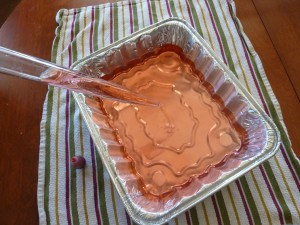
Add some food coloring to the water so they can really see the water inside of the baster!

You can add to this by having another pan or bowl right next to it so they can transfer the water.  Have them predict how many times it would take for them to fill the baster before the pan is empty!

Once they are done with this station, easy clean up by dumping the water down the sink, rinsing and wiping so it’s ready for the next time!

Primary Sidebar

Obstacle Course Mom’s Blog

  • When People Stare, Mind Your Own Business
  • ABC’s of Peaceful Parenting Tele-class
  • What’s Perfect About This?
  • Exciting News!
  • Halloween

Categories

  • Blog
  • Cool Tool
  • Fine Motor
  • Getting Started
  • Gross Motor
  • Literacy
  • Math
  • My Obstacle Course Station Ideas
  • Oral Motor
  • Problem Solving
  • Sensory
  • Social Skills
  • Uncategorized

Archives

  • July 2012 (1)
  • May 2012 (1)
  • January 2012 (1)
  • November 2011 (2)
  • October 2011 (12)
  • September 2011 (14)
  • August 2011 (15)
  • July 2011 (19)
  • June 2011 (18)
  • May 2011 (21)
  • April 2011 (20)
  • March 2011 (22)
  • February 2011 (19)
  • January 2011 (21)
  • December 2010 (22)
  • November 2010 (6)

Meta

  • Log in
  • Entries feed
  • Comments feed
  • WordPress.org