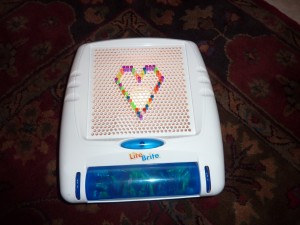
When I first saw this toy I thought it would be a huge hit with Andrew and when he seemed reluctant to play with it I immediately made plans to turn it into a station activity in My Obstacle Course. It is a square with holes to be used with colored screws to create designs or patterns. It comes with an electric drill as well as one the child can use manually. This is a great toy for combining fine motor skills, problem solving and planning along with math skills (patterning).

The cards that come with the toy range from basic to complex and can take a bit of time to complete. I found that having Andrew make the pattern or picture that was on the card from start to finish was too much and he lost interest when he realized it was going to take a while. I began shortening the activity by either starting a picture or pattern for him to finish or only giving him a certain number of screws to drill in. This helped a ton and was far more motivating to him.
My Obstacle Course Station Activity: Finish the Pattern
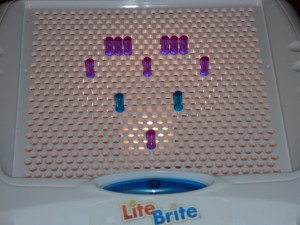
Choose colors or a pattern. Begin the row or the pattern and have your child finish the pattern by screwing in the pieces that come next. I like to provide the exact number of pieces that he will need to complete it. Once I saw that he had a good idea of the pattern, I would include an oddball screw to see if he could recognize that it did not belong.


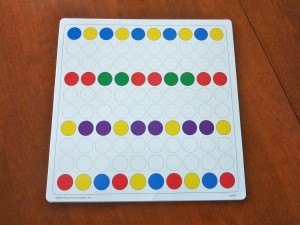
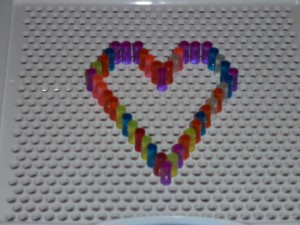
My Obstacle Course Station Activity: Make the Same (finishing what is shown on the paper card)
This is the most challenging activity and is something that I found worked best when I began the pattern or picture and provided him with the screws to finish it.

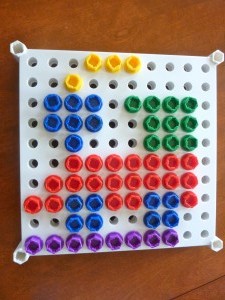
This is another toy that was purchased for Christmas and was not really played with until I taught him how to do it in a small, structured way. Breaking down the steps into small, manageable pieces makes such a difference! It is now a toy that he understands, enjoys and is more comfortable playing with. Click here for a previous post on new toys not played with.
Engage, Encourage and Empower!


