• Skip to primary navigation
  • Skip to main content
  • Skip to primary sidebar

My Obstacle Course: Engage, Encourage and Empower

A fun, structured, systematic way to work on your child's strengths and weaknesses at home!

  • Welcome to My Obstacle Course!
  • What is My Obstacle Course?
  • Developmental Timelines
    • What Is My Child Ready For?
  • About Us
  • Blog
  • Contact Information

Fine Motor

Party Tray Sorting: Buttons and Coins

I shared a few weeks ago about these fun, colorful plastic party trays that I found that can be also used for sorting items. (Here is the link to Party Tray Sorters.) Here are two more ways to use them with things that you probably have lying around the house. Using a party tray like this makes it super simple to set up, easy to have the items contained while also providing a good space to sort into.

My Obstacle Course Station Activity: Sorting Buttons By Color

I have a huge bag of buttons that I have accumulated over the years but also found these great little containers of different colored buttons at Michael’s. (Here is a previous post on Button Sorting using a winter theme.)

Party tray + buttons = Easy sorting station
My Obstacle Course Station Activity: Sort the buttons by color
Sorting buttons by color.

My Obstacle Course Station Activity: Sorting Coins

My Obstacle Course Station Activity: Coin Sorting
Coins sorted.
Andrew sorting coins.

We did this particular station activity during our last My Obstacle Course. It was great to see him able to identify the coins but also learn the difference between nickels and quarters by placing close attention to the details on the coin. I got to point out the different presidents and also remind him that Monticello is on the nickel and is a place that he has visited when we lived in Virginia.

He sorted them systematically, sifting through them to find the specific coin he was working on. He was also talking to himself, reading the words on the coins as he was sorting, saying things like, “Liberty” and “In God We Trust.” It was very sweet to listen to! 🙂

Engage, Encourage and Empower!


Pipe Cleaner Twisting

This is an activity that I came up with to work on hand coordination with Andrew. He is not yet tying his shoes (I am thankful for velcro and Crocs!) but I wanted to work with him on using his hands together while doing different things with each hand. (Turned out that his Occupational Therapist wanted to work on that with him as well! Bonus!!)

I like to use pipe cleaners when starting to build a skill like this because they are sturdy and are less frustrating than wiggly laces or string (there is time for that – remember we are just beginning this skill!).

Colorful Pipe Cleaners

I twisted the end of two different colored pipe cleaners together…

Ends twisted.

and then found a door with a lock so I could loop the pipe cleaner around it.


I looped it around a door lock that would be a good height for him.
Crossing the pipe cleaner to make an "x" before twisting it under.
Twisting the green pipe cleaner under the blue one and switching hands.
Continue this process until they reach the end.

This could also be done around their foot :), which may work even better to prepare him for shoe tying! Will have to try that since I just thought of it as I am writing this. The object of this is to take a pipe cleaner in each of his hands and twist it around, switching pipe cleaners and hands after each twist. They will continue this, creating a candy cane like effect by twisting them together.

My Obstacle Course Station Activity: Pipe Cleaner Twisting

My Obstacle Course Station Activity: Pipe Cleaner Twisting
Finishing up the twisting.

Observation note:

After doing stuff like this with your child you will begin to see patterns that show up in multiple different areas. An example of this for us is that Andrew’s right arms and hands seem to dominate much more than his left. When I would watch him run, his left arm would move a little but not nearly as much as his right arm. When he swims, he tends to run into the side of the pool on his right because his left arm doesn’t reach out and push through the water like his right arm. We have worked on this and as he has developed and gotten older, it has improved a good deal. With this particular activity, I noticed that he would use his right hand to twist the pipe cleaner around the one in this left hand, which was basically just there holding the other pipe cleaner. It is always interesting for me to notice things like this so I can provide him with more activities to work on this and also take note to mention it to his therapists. I look forward to sharing whatever activities I come up with or find to help build this skill.

Engage, Encourage and Empower!

Packing Bubble Popping

Did you know that packing bubble sheets are great for building fine motor skills? I grabbed a bunch out of a package we received a few months ago and stashed it away, knowing that I would be able to use it for something (I’m kind of like a squirrel this way, seeing things and storing them knowing I’ll put them to good use someday. 🙂 ). Well, as I was cleaning up a closet, there it was and I began playing around. I noticed that pinching and popping the bubbles required the same muscles I was working on with Andrew for building handwriting skills. Try it using your thumb on the top (or bottom) and your first two fingers (pointer and middle) on the opposite side as your thumb and pinch (like you are pinching tweezers together). Something so basic to work on such an important skill!

Packing bubble sheet

This is a My Obstacle Course station activity to build those finger and hand muscles that was made even better by my assistant Katie who suggested using the dot stickers (garage sale kind I’ve used for patterning and “Make the Same” stations) to show the child specific bubbles to pop. While not necessary, the stickers help to provide focus as well as give a purpose.

My Obstacle Course Station Activity: Pop the bubbles with red dots

Colored dots to pop.

An extension of this is to put numbers on the dots in order to help with number recognition.

My Obstacle Course Station Activity: Pop the bubbles in order from 1-5

Colored dots with numbers on them

Write the numbers or letters on the sticker dots and then place them randomly on un-popped bubbles. Have the child use their pincer grip fingers to pop the bubbles in the correct order.

Popping the bubbles requires same pinching as pincer grasp so it helps build those muscles.

My Obstacle Course Station Activity: Pop the bubbles in order from 1-5.

or

My Obstacle Course Station Activity: Listen to the number I say and pop the bubble with that number.

Numbers 1-5 scattered for number recognition and number order.
Popping the #1 bubble!

This could also be done to work on:

  • letter recognition
  • letter sequencing
  • letters of the child’s name
  • letters of words
  • odd and even numbers

Engage, Encourage and Empower!


Squeeze Toys For Building Hand Muscles

Andrew’s OT is working with him on strengthening his hand muscles, which in turn will help him with things like handwriting. She showed me where the muscles were located and what she was doing to help build these. That got me thinking about fun ways to work on this at home, so as I did my weekly shopping, I was on the lookout!

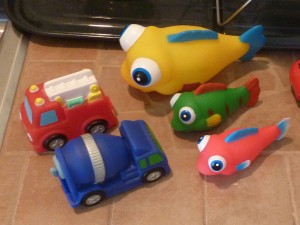
I found some squeeze toys at Walgreens and thought these would be fun additions to My Obstacle Courses (as well as bath and pool time).

Squeeze toy trucks and fish

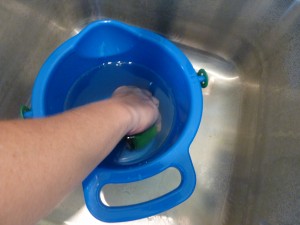
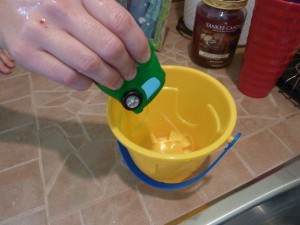
In order to fill these toys with water, he will need to squeeze the toy (using the hand muscles we wanted to target) and slowly release pressure while holding the toy under the water. He will then also have to squeeze it again to squirt the water out! (Click here for previous post showing how using a bulb syringe builds those same muscles.)

My Obstacle Course Station Activity: Squeeze and Fill

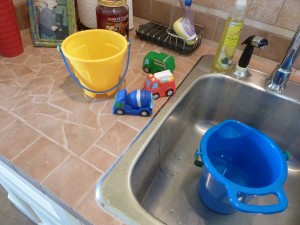
This is a great station to do at a sink. I use sand buckets or bowls that are deep enough as well as provide some sort of container to squirt the water into.

Materials at station
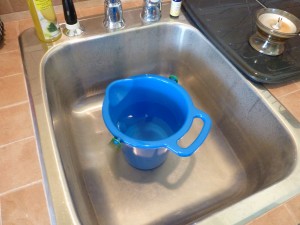
Sink with a bucket filled about halfway with water.
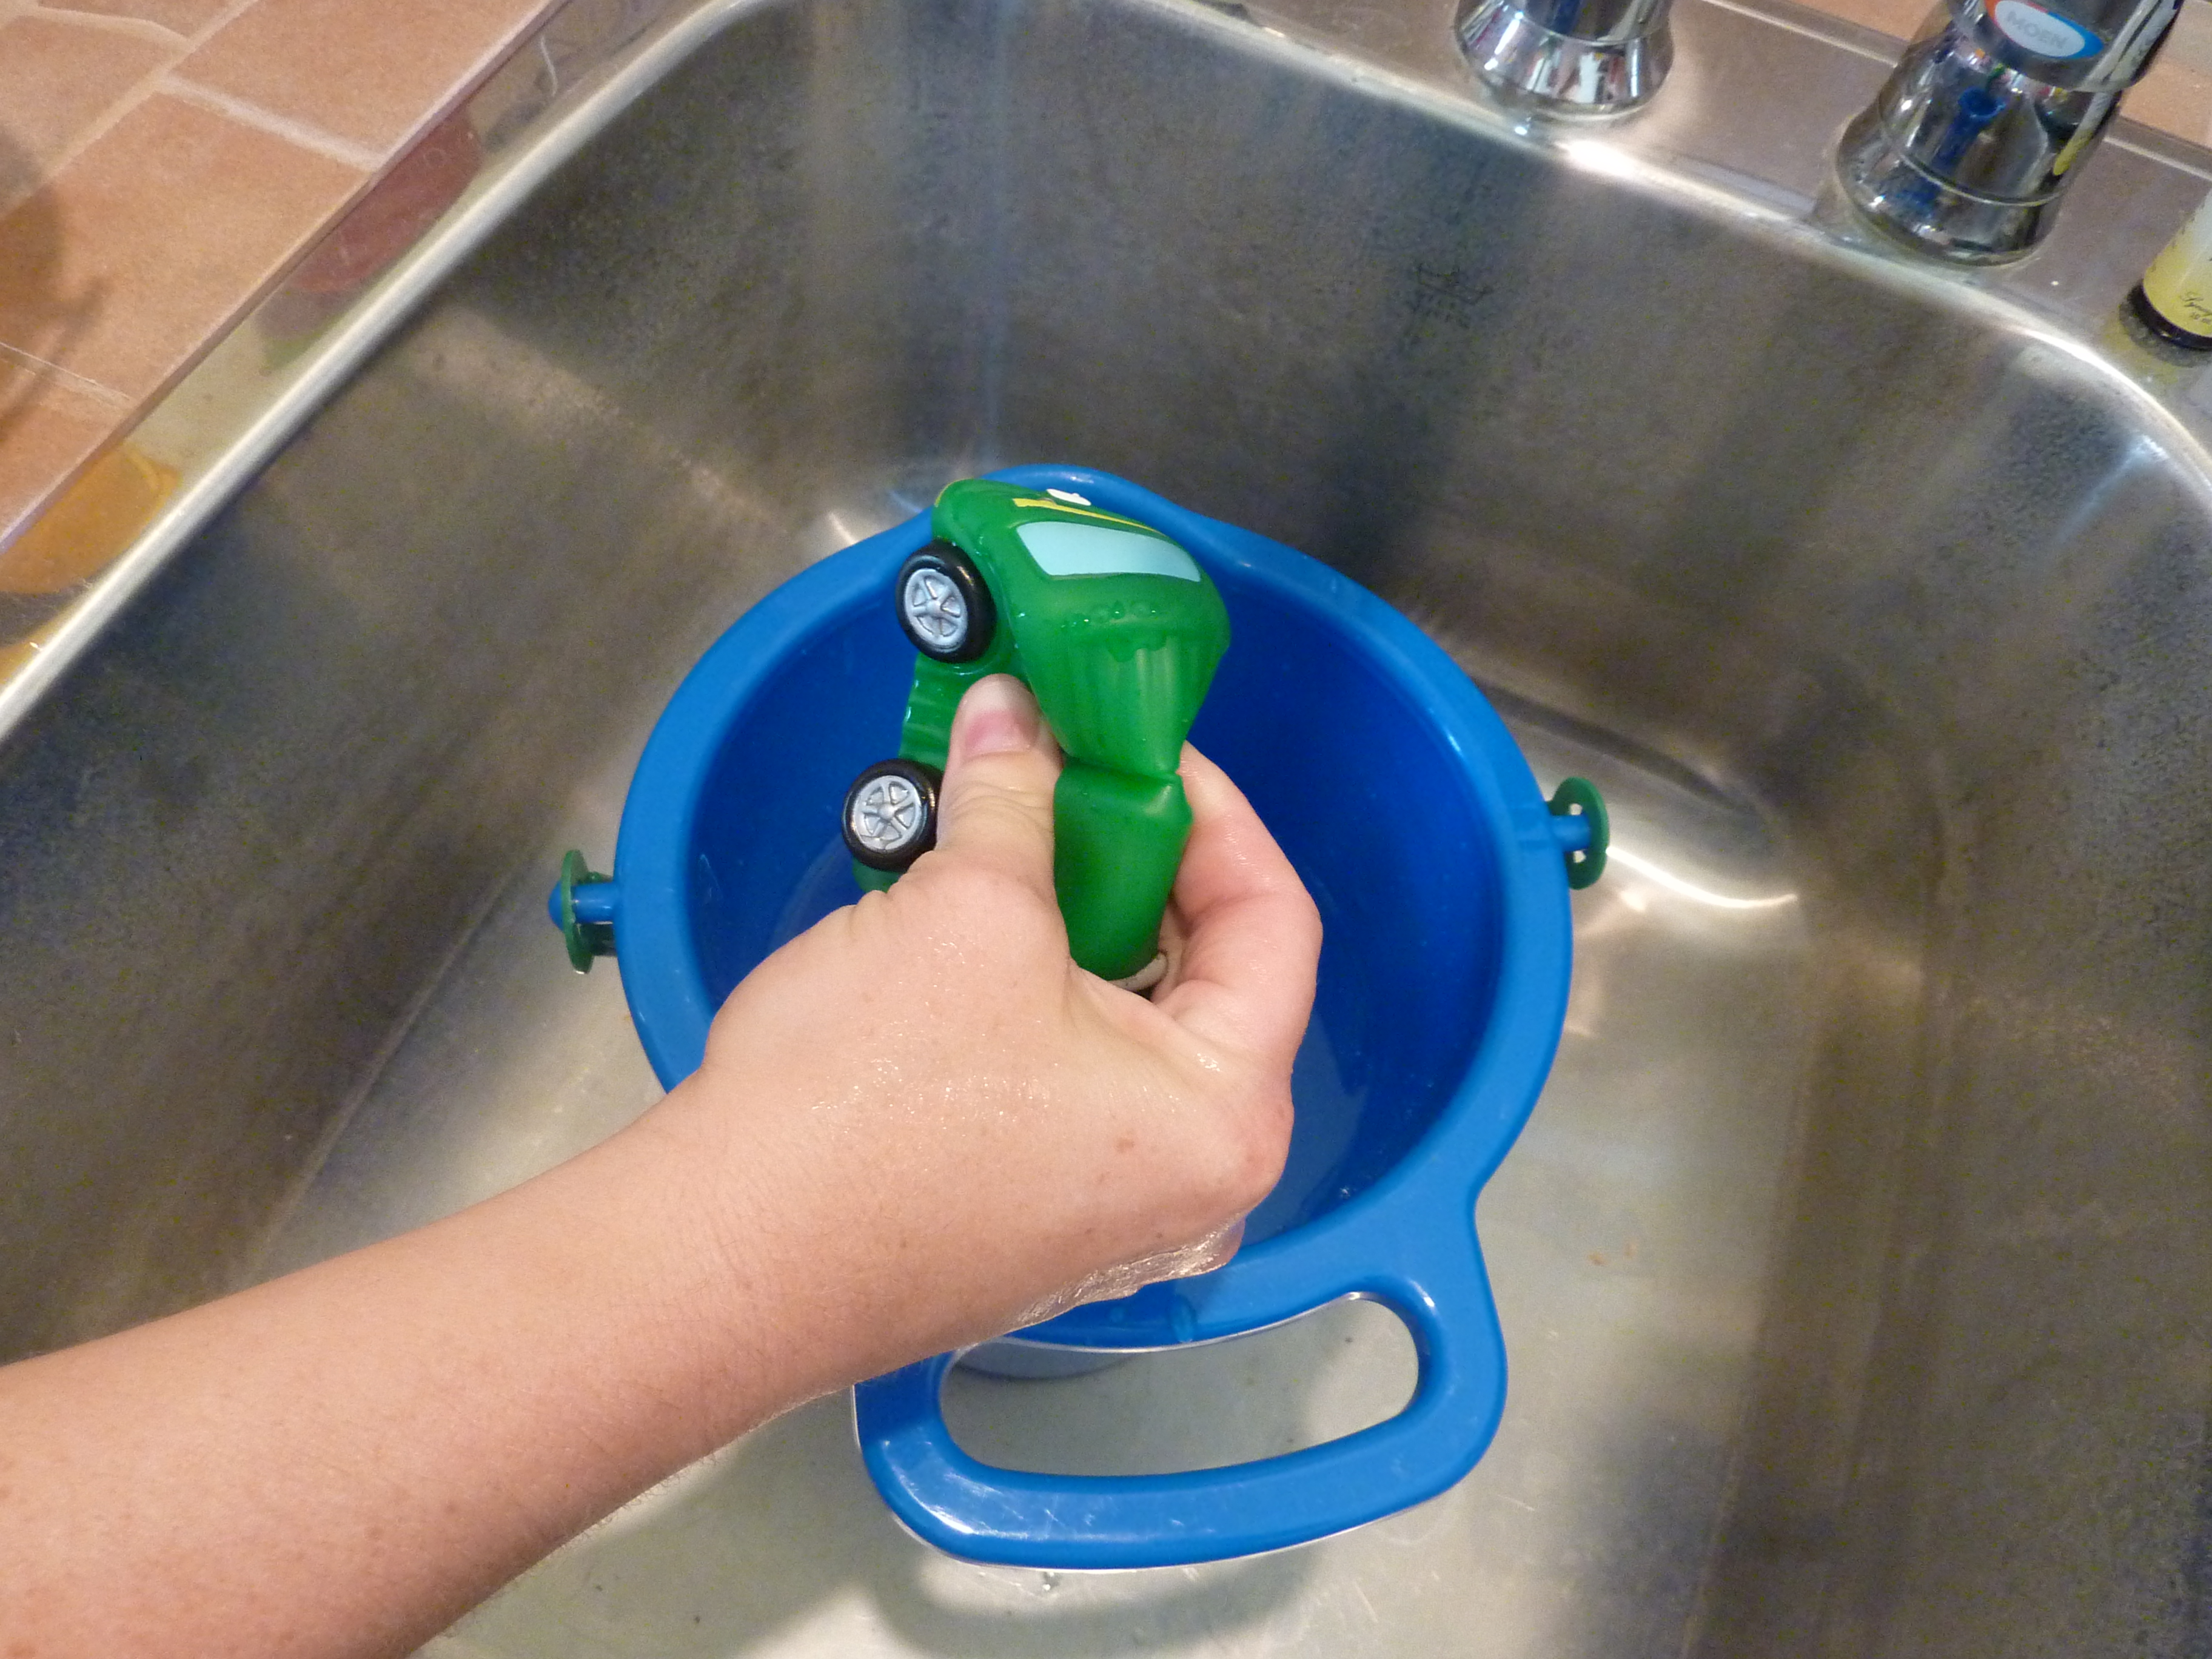
Squeezing the toy.Â

The muscles I am using to squeeze this are the same muscles necessary for handwriting – try it! Pinch your thumb and first two fingers together to feel this. It always amazes me to break something down that comes easily to people and really think about all that is involved in some of the most basic tasks. We will be doing lots of squeezing stations this summer because while Andrew’s hand muscles are getting stronger they still need “workouts” like this.

Squeeze the toy under the water, slowly releasing pressure to allow water to enter.
Squeezing the toy to spray the water out.

To give this station activity more purpose, you could draw a line or tell them that they have to fill the container to a certain point, counting along the way to see how many times it takes to fill and squeeze before they reach that point. If you think this is something that is too “baby-ish” for your child, I can think back to watching a Survivor-like show (or maybe it was The Biggest Loser), with them doing something similar. The contestants had to run, get something that would absorb but also drip water, run back and squeeze as much water as they could into a bucket, doing this until they filled their bucket to the line. You could do something like this using the squeeze toys as part of an outdoors My Obstacle Course and they’ll never know they are building these hand muscles!!

Engage, Encourage and Empower!

Velvet Coloring Pages

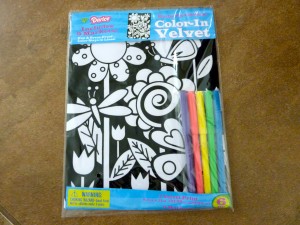
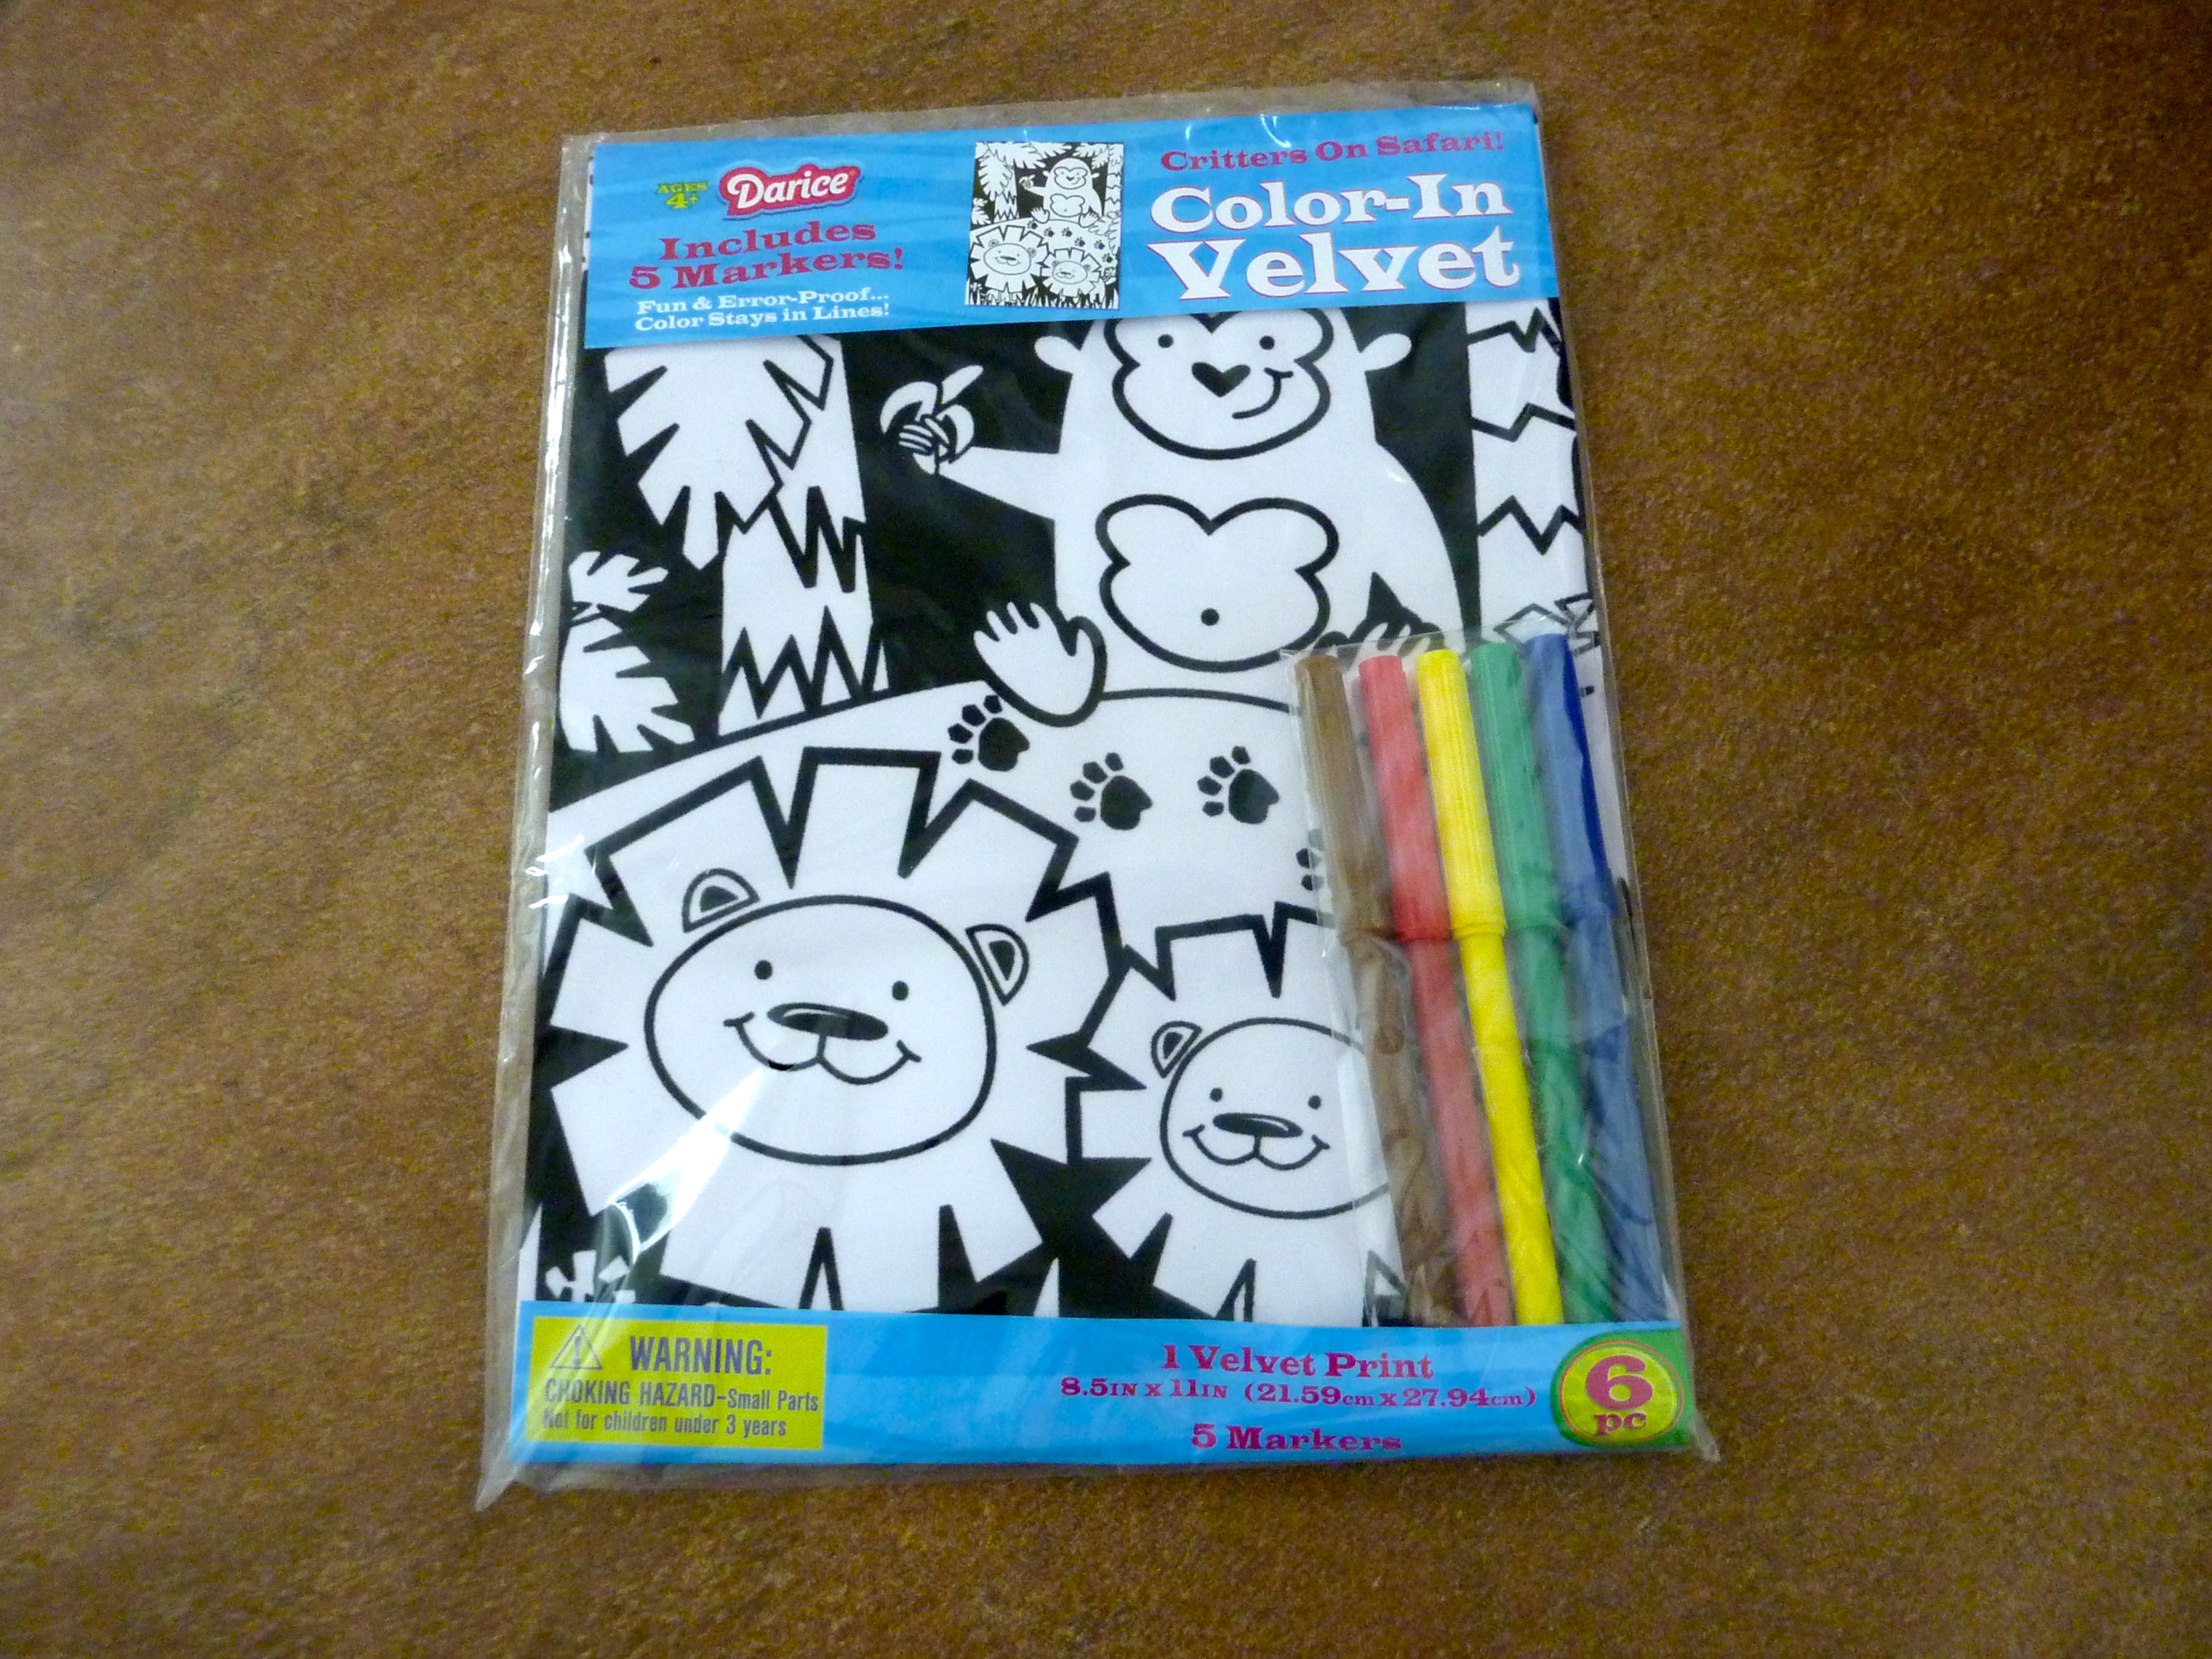
These are Velvet Coloring Books that I found in the dollar section of Target recently. (Andrew also got one yesterday from a friend at school as a birthday favor.)

Flowers
Cars
Jungle Animals

I have seen these many times before, I even remember coloring with them while I was growing up but picked them up because I thought they would be great for someone who struggles with fine motor skills of coloring. The velvet edges create a natural border around the space to be colored and since the velvet is black, any markings that go beyond the coloring space is not as noticeable.

This is something that I would incorporate into several different My Obstacle Courses knowing that coloring is not a preferred activity for Andrew but using this a little bit at a time, maybe one section at a time, to help build his coloring confidence. I have seen little glimpses of him wanting to color but also struggling with his thoughts that he’s not good at it.

To be completely honest with you, I don’t really care if he is a “good” colorer or not. What my intention with something like this is to give him an opportunity to practice this skill in a safe environment, allowing him to experiment and practice the coloring strokes without judgement or worry about what someone else might say or think. If it turns out to be something that he enjoys but just needed to build fine motor skills in order to do this, than great!

This thought process is not limited to coloring but is something I think is an important benefit of doing My Obstacle Courses with him at home. He gets opportunities to build strengths and weaknesses at the level he is ready for without the worry or pressure of judgement.

Engage, Encourage and Empower!

Scratch Magic

If you’ve been following my posts, you know that I have a child who is very reluctant to write or draw. This makes practicing things like holding a pencil, practicing proper grasp with the correct finger placement, using different pressure and changing hand movements to create controlled strokes very challenging. Therefore, I am always on the lookout for things that are fun and help to build this skill. I found some of this Scratch Magic paper and thought it was definitely worth a try.

Scratch Magic Outer Space Fun Kit

The sheets have a black, wax-like film on top and when scratched off reveal sparkly or colored paper underneath.

Sheet of Scratch Magic Paper before any scratching.
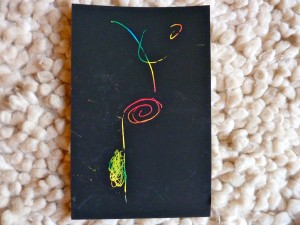
Some scratch art revealed.

It comes with a wooden, pencil like tool with a sharp point used to scratch the black wax off to reveal the colors underneath.

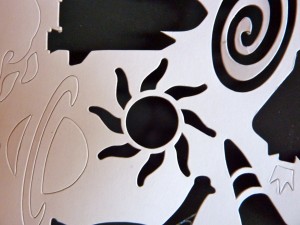
The package I got came with space themed stencils which I found to be motivating and helpful for him to be able to practice the back and forth strokes of coloring/scratching off the black while getting a finished product that was more recognizable than free drawing.

My Obstacle Course Station Activity: Scratch Magic Paper

Choose a shape to trace and scratch off the black to see what’s underneath!

The child chooses a stencil.
They either hold down the stencil or you can help them and then outline the stencil and scratch off the black.
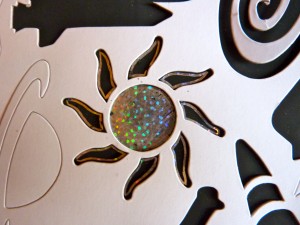
A sparkly sun!
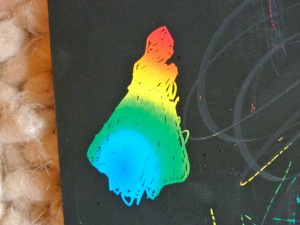
A colorful rocket!

This activity does not require a great deal of pressure in order to scratch off the black so I didn’t have to worry about him losing interest or getting discouraged if he didn’t see the impact his work was having (unlike the Color Wonder markers which are really cool but he never stuck around long enough for the color to appear and see what he had done.).

Engage, Encourage and Empower!


« Previous Page
Next Page »

Primary Sidebar

Obstacle Course Mom’s Blog

  • When People Stare, Mind Your Own Business
  • ABC’s of Peaceful Parenting Tele-class
  • What’s Perfect About This?
  • Exciting News!
  • Halloween

Categories

  • Blog
  • Cool Tool
  • Fine Motor
  • Getting Started
  • Gross Motor
  • Literacy
  • Math
  • My Obstacle Course Station Ideas
  • Oral Motor
  • Problem Solving
  • Sensory
  • Social Skills
  • Uncategorized

Archives

  • July 2012 (1)
  • May 2012 (1)
  • January 2012 (1)
  • November 2011 (2)
  • October 2011 (12)
  • September 2011 (14)
  • August 2011 (15)
  • July 2011 (19)
  • June 2011 (18)
  • May 2011 (21)
  • April 2011 (20)
  • March 2011 (22)
  • February 2011 (19)
  • January 2011 (21)
  • December 2010 (22)
  • November 2010 (6)

Meta

  • Log in
  • Entries feed
  • Comments feed
  • WordPress.org