• Skip to primary navigation
  • Skip to main content
  • Skip to primary sidebar

My Obstacle Course: Engage, Encourage and Empower

A fun, structured, systematic way to work on your child's strengths and weaknesses at home!

  • Welcome to My Obstacle Course!
  • What is My Obstacle Course?
  • Developmental Timelines
    • What Is My Child Ready For?
  • About Us
  • Blog
  • Contact Information

Obstacle Course Mom

Practicing Speech Words

It really can be as easy as this next My Obstacle Course station activity that I am going to tell you about! When Andrew goes to speech, we usually get a sheet of words, mostly with pictures, to take home to practice.

Speech practice sheet targeting what Andrew calls the d3 sounds (aka /j/ sound).

My apologies to the maker of this sheet but as it is, it is not very exciting and I found it difficult to motivate my child to want to practice this at home as is. I know this can be much more fun without a great deal of effort and so I decided to just cut apart the pictures and turn it more into a game to see if that made a difference.
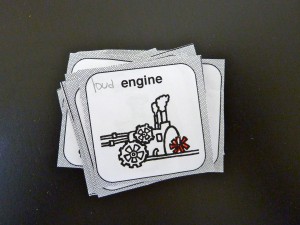
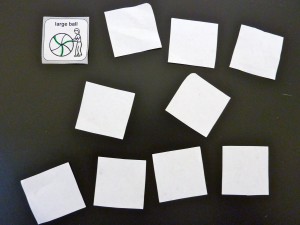
Words and pictures cut apart to create cards.

These cards can be saved, mixed and matched for reinforcement purposes.

One station activity was simply turning them over and having him choose one to flip and say 5 times.

Cards flipped over for him to choose.
Flip and say 5 times.
Continue until all cards have been practiced.

This could be combined with the carpet runner to create a “Say and Crawl” station. He could flip a card say it 5 times, crawl down the runner and place it into a cup/bowl/bucket/whatever!

Another station activity we’ve done with putting the pictures into a cup, having him reach in, choose one and say it 5 times. He even turned this activity into more of a game by finding a place to hide the picture after he was done saying it. I did not mind this one bit because he came running back to pick a new word to say so he could hide another one.

Any time I can get him excited about practicing something that he struggles with is something that I get excited about, especially when it is as simple and basic as this!!

Note: If your child’s attention span or frustration level can only handle less, choose an amount that works for them and spread it out.

Engage, Encourage and Empower!


Repurposing Packaging

I get a lot of questions about storing all of the materials that I have. One thing that is helpful for me is to keep things contained in clear packages so I can see what is inside. Easy to spot, easy to grab, easy to put away! Love it! I also like to use things that I already have or things that sort of “appear” to me and as I purchased some new briefs for my son, I noticed that this is exactly the kind of package that I have reused many times for storage.

Package of briefs. Notice the blue snap? Love things that not only contained but also stay shut!
Empty package - don't throw it away just yet!
Perfect storing place for small items like these wooden Melissa and Doug letters.

This kind of package is perfect for holding items like markers, Do A Dot markers, straws, math cubes, stamps, yarn, stickers, calendar cutouts, index cards and frequently used directions (ex. Make the same. What comes next? Crawl and match.).

Engage, Encourage and Empower!
Scratch Magic

If you’ve been following my posts, you know that I have a child who is very reluctant to write or draw. This makes practicing things like holding a pencil, practicing proper grasp with the correct finger placement, using different pressure and changing hand movements to create controlled strokes very challenging. Therefore, I am always on the lookout for things that are fun and help to build this skill. I found some of this Scratch Magic paper and thought it was definitely worth a try.

Scratch Magic Outer Space Fun Kit

The sheets have a black, wax-like film on top and when scratched off reveal sparkly or colored paper underneath.

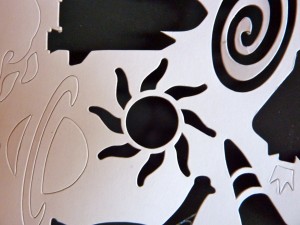
Sheet of Scratch Magic Paper before any scratching.
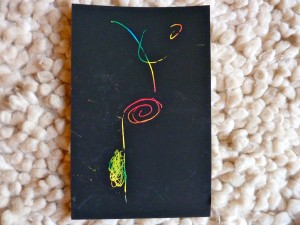
Some scratch art revealed.

It comes with a wooden, pencil like tool with a sharp point used to scratch the black wax off to reveal the colors underneath.

The package I got came with space themed stencils which I found to be motivating and helpful for him to be able to practice the back and forth strokes of coloring/scratching off the black while getting a finished product that was more recognizable than free drawing.

My Obstacle Course Station Activity: Scratch Magic Paper

Choose a shape to trace and scratch off the black to see what’s underneath!

The child chooses a stencil.
They either hold down the stencil or you can help them and then outline the stencil and scratch off the black.
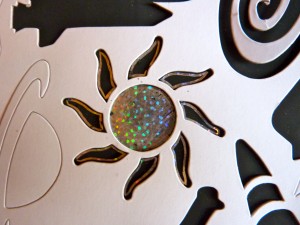
A sparkly sun!
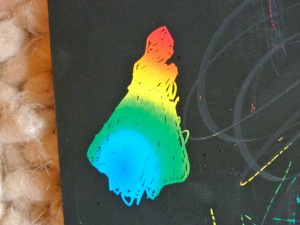
A colorful rocket!

This activity does not require a great deal of pressure in order to scratch off the black so I didn’t have to worry about him losing interest or getting discouraged if he didn’t see the impact his work was having (unlike the Color Wonder markers which are really cool but he never stuck around long enough for the color to appear and see what he had done.).

Engage, Encourage and Empower!
 

Lightbulb Pattern Pieces

This package of fun Lightbulbs Mini Accents from our teacher store are probably meant for bulletin boards in the classroom but when I saw them, anyone who knows Andrew also knows that I had to have them!

Package of Lightbulb Mini Accents by Edupress.Â

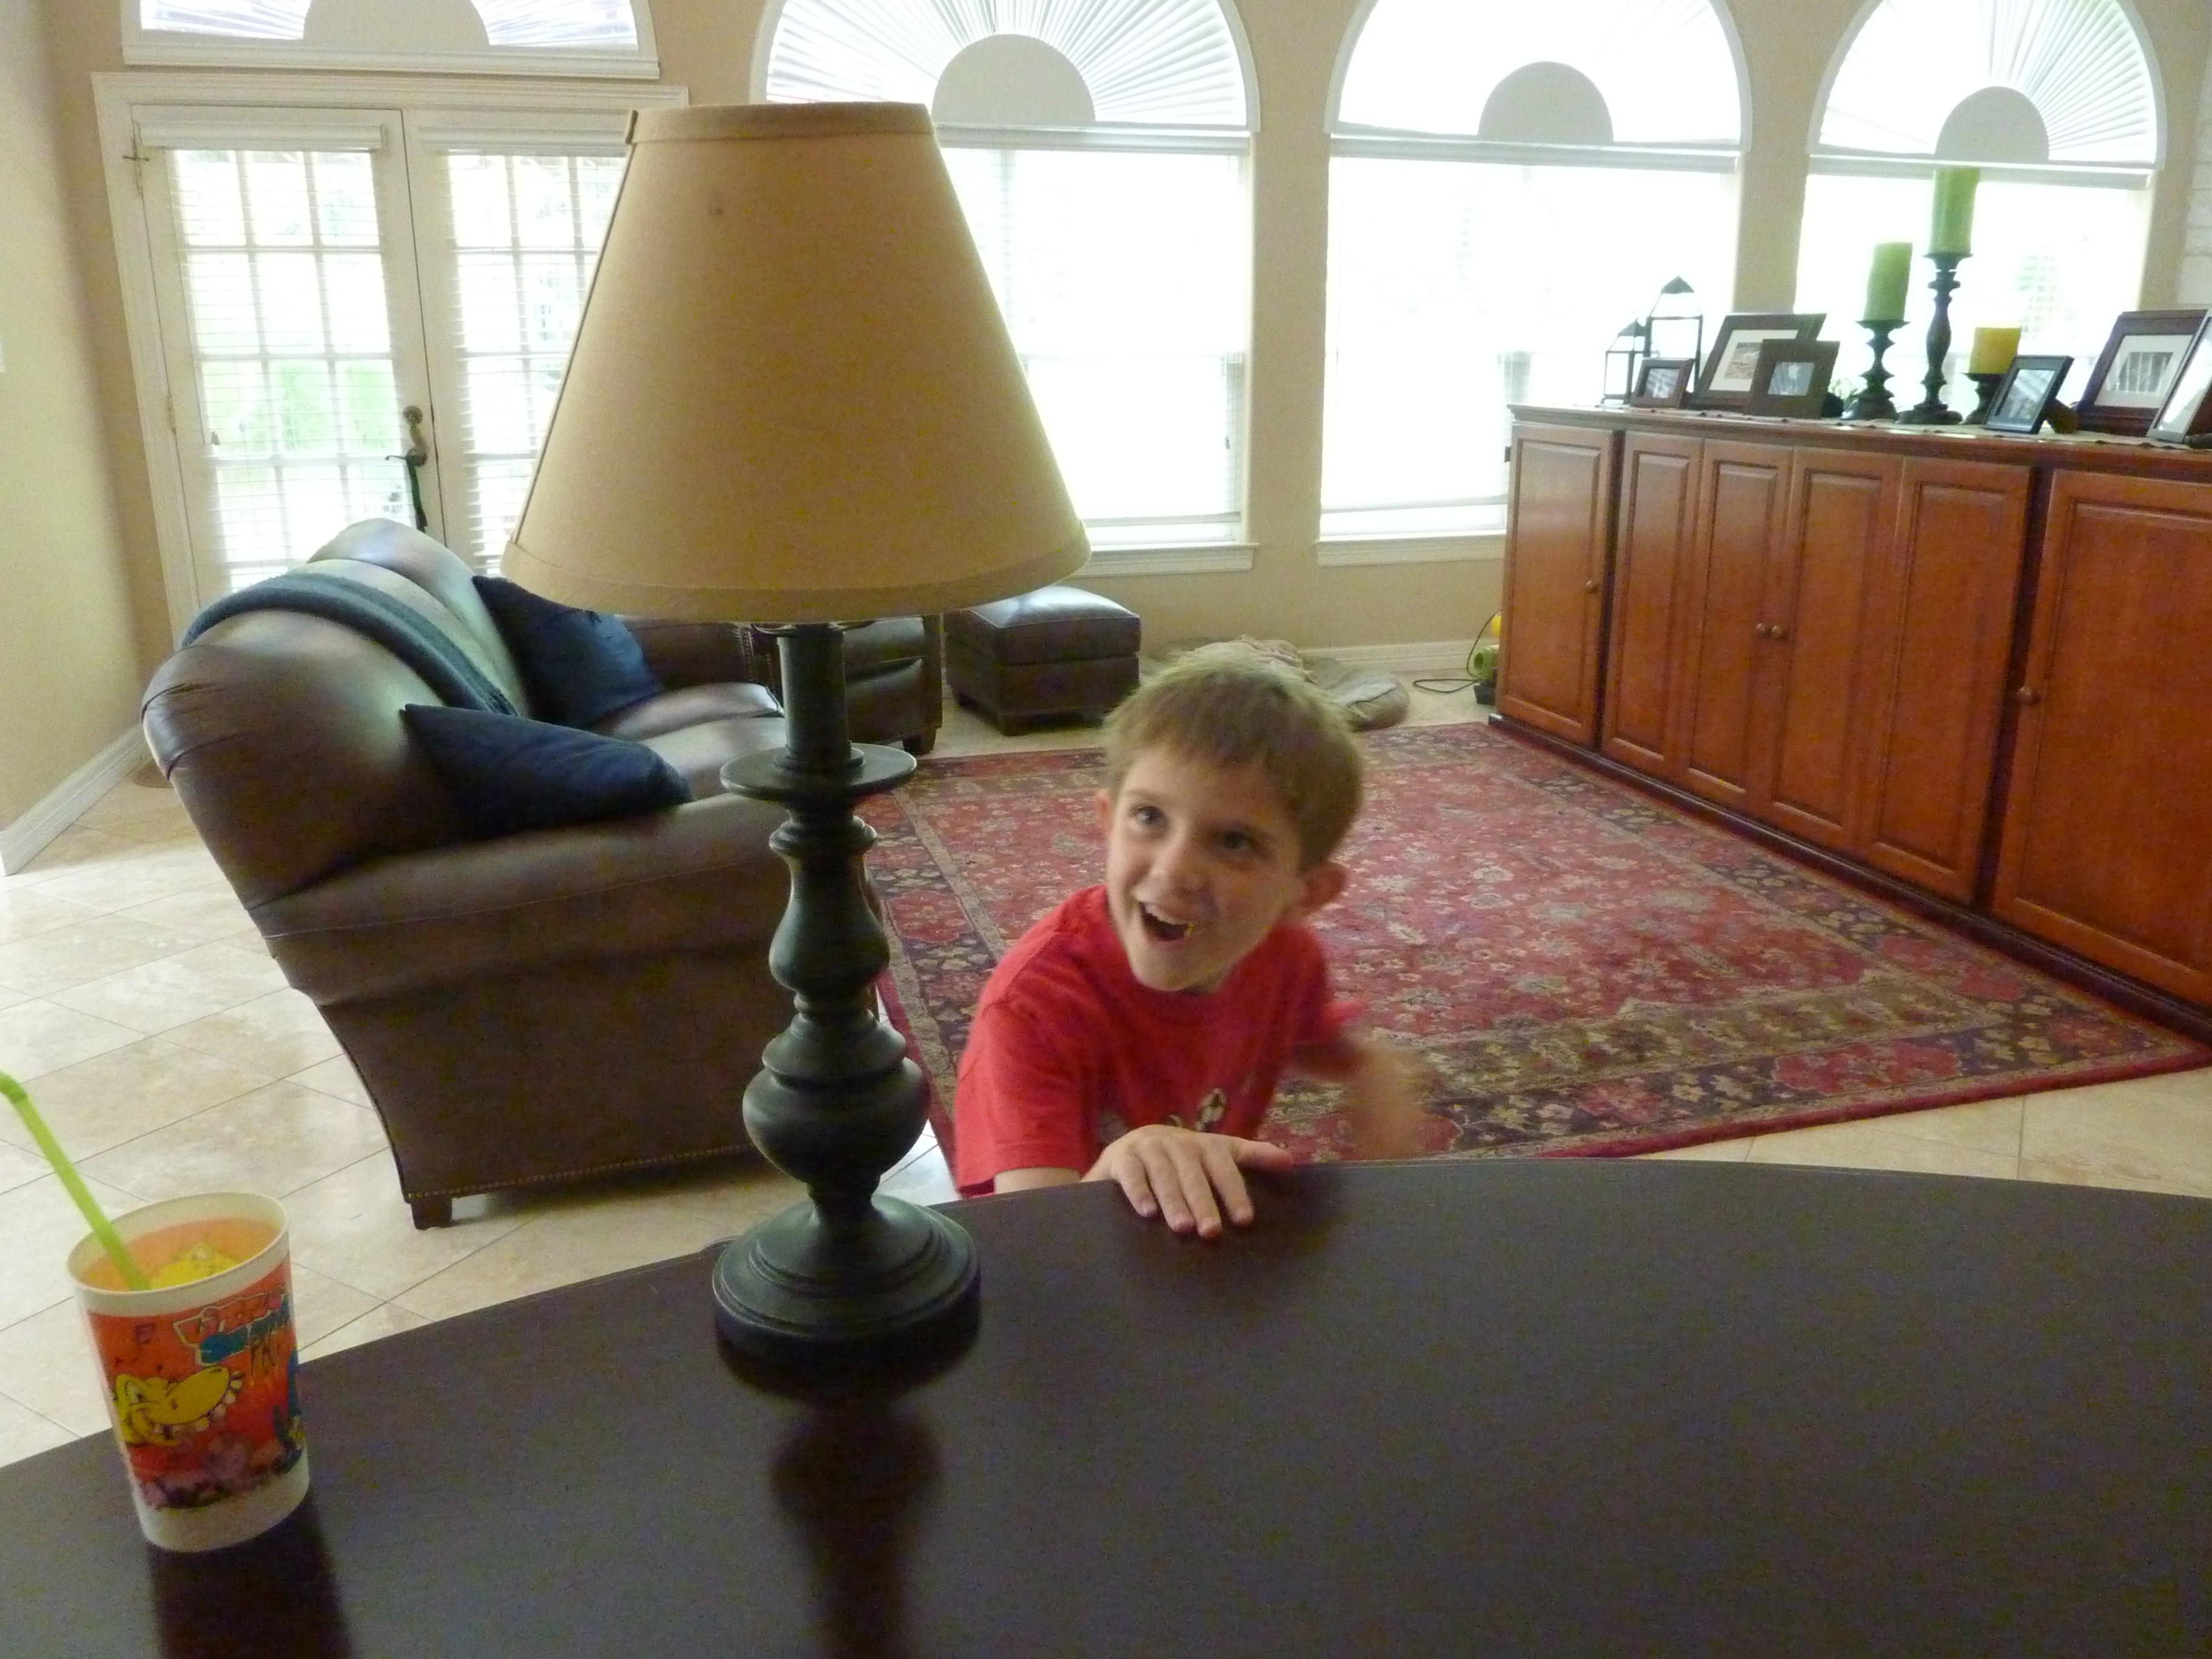
Checking out a new colored lightbulb he had earned. So happy and excited!!

Andrew’s love of ceiling fans is second only to his love of lights and light bulbs. One very consistent phrase of his before he was speaking was “uh uh u-uh!” which translated to “lights are on” with the “on” being drawn out a bit. He can walk into a store, a house, anywhere and determine which lightbulbs need to be replaced, which ones are brighter than others and if he’s been there before can tell you about any changes in wattage. Amazing, especially when I think about how quickly he does this – almost like laser vision as he scans the place. Anyways, look how cute this guys are!

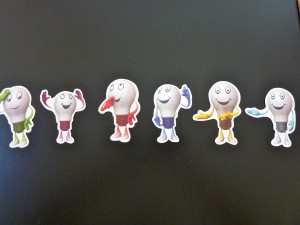
Six Different Lightbulb Characters

There are 6 different lightbulb characters which make them perfect for a station of sorting, patterning, graphing and could easily be paired with a clothesline and clothespins to help build fine motor skills.

My Obstacle Course Station Activity: Use the lightbulbs to make or continue a pattern

Basic ABAB Pattern

My Obstacle Course Station Activity: Use the lightbulb characters to create a story

As I was looking at these again, it also occurred to me that they would be perfect with children who are ready for a bit of storytelling. The expressions on their faces and the hand gestures got me thinking about incorporating them with story starters.

Sequencing them for a story based on their facial expressions and hand gestures.

Example story with each line “spoken” by the lightbulb characters in the order they appear above:

  • Oh shoot! I forgot my lunch!
  • Wait a minute, I have a great idea! We can all look in our lunches to see if we have anything to share.
  • Let me think, do I have anything to share that you would like?
  • I know that I do!
  • My mom must have known because she packed me a ton of food today.
  • See, problem solved. Friends helping friends! What could be better?

Super, basic story but hopefully you can see how you can use the facial expressions and gestures to go through and create a story.

Another sequence for story telling.

Keep in mind, they don’t all have to be used at the same time, but even using 3 or four of them could create a nice little story complete with characters (who), setting (when and where), conflict/problem (what) and resolution (how).

This sort of learning material just goes to show you that there is a ton of stuff out there that can help motivate and engage your child, even if you have a child who isn’t into the typical things like sports or cars. Who would have thought that our thing would be lightbulbs and ceiling fans? Not me but I wouldn’t have it any other way!

Engage, Encourage and Empower!


Look How Far We’ve Come!

As you all know, this past weekend was Mother’s Day and my husband was on call which left me with a good deal of free, non-scheduled time at home with Andrew Saturday and Sunday. I figured I would give myself a Mother’s Day gift of doing something I had been putting off for a long time – decluttering drawers, cupboards and closets that I’m always too busy to go through.

I know what some of you are probably thinking – why not gift yourself a manicure or pedicure? But to be totally honest, these days I am working to make my home and my life more peaceful so I can be a more peaceful parent and not being able to find paperwork because it’s not where it belongs does not leave me feeling very peaceful and is a huge waste of my time, which could be spent hanging out with my family! Right now, the gift of time is more valuable to me than nice looking finger nails. (Now you’ll all be checking out my finger nails in future post pictures 🙂 !)

These areas were not only catch all spaces for things I didn’t want to deal with at the time, cluttering my home, but they also turned out to be storing places for emotional mind clutter. I went through these spaces, deciding to only keep things that I loved or needed to file and would donate or pitch the stuff I did not love.

I made this as pleasant as I could by watching some favorite shows on my laptop and was moving right along when I was ready to move a pile of things related to Andrew and My Obstacle Course into my office. As I picked up the pile, I thought about some of the notebooks and binders that I was moving. These particular notebooks and binders contained every daily note written by his teachers for the past 4 years. Keep in mind, these were not sweet journals written by my dear child. They were notes about his behavior, his good days and his bad days. It was as though they contained all of the emotions I felt during those good and bad days (kind of like from a Harry Potter movie!). Did I want these, need these or love these? No! In fact they were seriously weighing me down emotionally.

I thought for a moment about why I had been keeping them and what I was planning on doing with them, I realized that I was keeping them so I could look back and prove how far he had come. It hit me like a ton of bricks when I realized that I can say that right now without needing to refer back to a note from October 5th, 2009. I also know that nobody in their right mind was going to sit with me and look at these. I can’t even get my husband to look at photo albums! I took these binders and threw them in the trash knowing that whatever I thought I needed them for, I already had it. I can look any one of you in the eye and tell you without proving it with a note that in fact he has come so far!

I share this personal experience in case there is anyone else out there who is holding onto something so they can also say someday, “Look how far we have come!” (I can’t be the only one, can I?) Trust me, it feels really good to get rid of things you don’t need, especially when it weighs you down emotionally. If your  journey has been anything like mine, we have all come so far – as parents, caregivers, and most especially with our children. Everyone’s “far” is as different as everyone’s “normal” so embrace your “far” with all of the love and gratitude that you deserve. Thank you for allowing me to share!

Thematic even back then - note the green and red toys for him to play with since it was December. (Andrew at 6 mos.)
Should have known right here that our path would be a little different :)!
Andrew - Look how far we've come!

Engage, Encourage and Empower!
Geoboards – Fine Motor Skill Building Tool

The “geoboard” is something that is found in most elementary school classrooms and is generally used for the purpose of building math skills like making geometric shapes and finding area and perimeter. This is something that I will definitely work on with Andrew someday but when I looked at this tool I realized that it would be a fun way to help him build his fine motor skills and fine motor planning.

The geoboard is made of a grid of pegs and comes with rubber bands. By fitting the rubber bands around the pegs, you can create different shapes. I was not focused on creating shapes though. I wanted him to work on the basic skill of putting the rubber band around one peg, stretching it and putting it around another peg. Sounds easy enough but it was quite a challenge and I was glad I started basic.

My Obstacle Course Station Activity: Secure rubber bands around the matching stickers

I placed small stickers on the pegs I wanted him to put the rubber band around. Each pair of stickers matched so he’d know which ones to connect. Some were closer together and others farther apart so he’d have to stretch the rubber band a bit more, working on doing it so the rubber band didn’t fling off!

A "Geoboard." I placed small matching stickers so he would know which pegs to put the rubber band around.

At the station:

I modeled what we were going to do before giving him the rubber band. Working with rubber bands requires more attention from the adult so it doesn’t hurt them or someone else. Like I said, I knew that it was going to be challenging for him so I did hand over hand while also holding one end of the rubber band on the peg so it wouldn’t come off. His job was to stretch the rubber band and fit it around the peg with the matching sticker. It was great for him to feel the tension and push himself to pull it farther. He wanted me to do it for him but I simply helped his hand stretch it so it would reach around the peg.

Checking his work.

Once he got done with the three rubber bands, he was very proud of himself. We continued to work on this in a basic way until he got the hang of it and knew what he needed his fingers to do.

Andrew making a geoboard spider.

Geoboard Simple Substitution:

I found my geoboard at the teacher supply store but this is something that could also be done using a thick piece of styrofoam with some screws, nails or golf tees secured into the foam so they are firm and don’t wiggle. They can be placed randomly or in an orderly fashion, whatever you like. Just provide some rubber bands for your child to secure around the screws, nails or tees and you can help them build fine motor skills! (Here is a previous post I did combining styrofoam, golf tees and a hammer called Hammer Away!)

(Click here for a link on Amazon)

Engage, Encourage and Empower!

« Previous Page
Next Page »

Primary Sidebar

Obstacle Course Mom’s Blog

  • When People Stare, Mind Your Own Business
  • ABC’s of Peaceful Parenting Tele-class
  • What’s Perfect About This?
  • Exciting News!
  • Halloween

Categories

  • Blog
  • Cool Tool
  • Fine Motor
  • Getting Started
  • Gross Motor
  • Literacy
  • Math
  • My Obstacle Course Station Ideas
  • Oral Motor
  • Problem Solving
  • Sensory
  • Social Skills
  • Uncategorized

Archives

  • July 2012 (1)
  • May 2012 (1)
  • January 2012 (1)
  • November 2011 (2)
  • October 2011 (12)
  • September 2011 (14)
  • August 2011 (15)
  • July 2011 (19)
  • June 2011 (18)
  • May 2011 (21)
  • April 2011 (20)
  • March 2011 (22)
  • February 2011 (19)
  • January 2011 (21)
  • December 2010 (22)
  • November 2010 (6)

Meta

  • Log in
  • Entries feed
  • Comments feed
  • WordPress.org