In keeping with the summer, beach themed My Obstacle Courses, I’m including a station to use the primary colors to make different shades of blue, like water. This is something that only takes a few minutes to set up but is so fun for children to get to play around with. An activity like this also goes along nicely with building some pretend skills, like pretending to be a scientist experimenting or a magician who is making “magic potions.”
My Obstacle Course Station Activity: Different Shades of Blue
I usually set up a station activity like this near a sink to make it easier to access water for set up and clean up. A rimmed cookie sheet is a perfect “tray” to place below the tools to help catch any stray water or color. I’m all about ease and containing messes :). Â I used some clear plastic cups in this particular station but have used ceramic ramekins in past stations and find that those are really helpful if you have children who tend to knock things over, not because they want to, but because they don’t have the hand control. The ramekins are low and heavier than plastic so they don’t tip as easily). I am also using a white ice-cube tray to help the colors stand out even more.
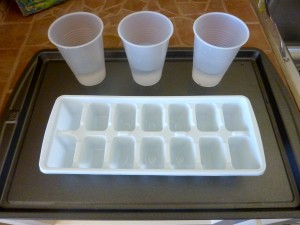
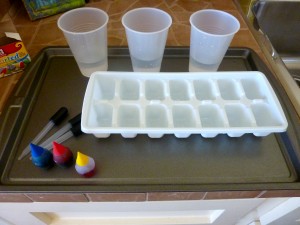
I love including droppers with something like this because it also helps to build fine motor skills! (Click here for a past post on droppers.)

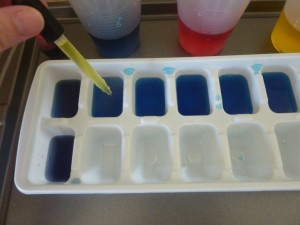
This is where you get to benefit from my experience. I began thinking that I would simply have him use the droppers to fill each section (like shown in the picture below where I had started in the far left corner of the tray) but when I tried it (which I always do before I pass them on to you or try them with him!) it was taking a really long time. I shifted my plan and decided to fill a cup with blue water (also shown below) and fill half of the ice-cube tray with the blue water.

Ahhhhh….much better! Now, I add the colored water to each blue section to make different shades of blue.
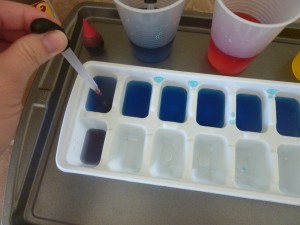
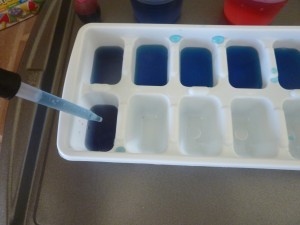

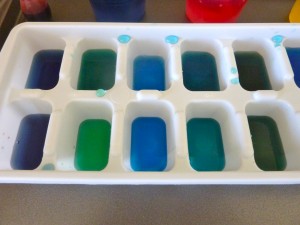
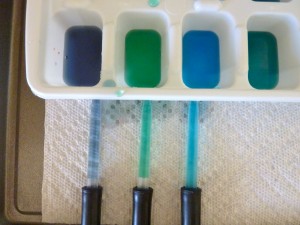
This was fun for me and is always a huge hit with Andrew! Have fun!!
Engage, Encourage and Empower!