• Skip to primary navigation
  • Skip to main content
  • Skip to primary sidebar

My Obstacle Course: Engage, Encourage and Empower

A fun, structured, systematic way to work on your child's strengths and weaknesses at home!

  • Welcome to My Obstacle Course!
  • What is My Obstacle Course?
  • Developmental Timelines
    • What Is My Child Ready For?
  • About Us
  • Blog
  • Contact Information

Archives for March 2011

Handwriting Skill Building With Dry Erase Books

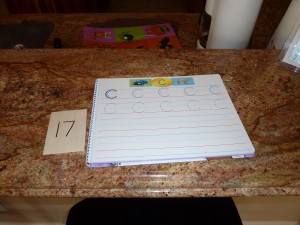
My Obstacle Course Station Activity: "Write and Wipe"Â Book - Practicing Uppercase "C"

This is for those of you who either have children that actually enjoy working in workbooks or have children who are ready build handwriting skills yet are reluctant to practice with paper and pencil. I do not have a child who loves working in workbooks but I was one of those children. I loved doing workbooks! Anyways, I found these dry-erase/wipe-off books at Lakeshore Learning to help Andrew with handwriting. He was not into them at the time I purchased them a few years ago but I brought them out again recently when he was showing an interest in his dry erase board. (Just another example of remembering to reintroduce things he wasn’t ready for!)

Dry erase books to build skills necessary for handwriting, such as making curved, vertical and horizontal lines.
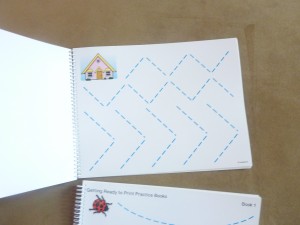
A sample page to work on drawing diagonal lines (necessary for letters like k, v, w, x, y and z).

This series of books guides them through the basic skills necessary before introducing the letters and numbers. They are the perfect bridge between tools like Aqua-Doodles, MagnaDoodles and paper/pencil.

This sort of activity is also great for children who have a hard time pushing or using pressure when writing with a pencil. The marker allows them to work on letter and number formation without requiring a great deal of pressure (that is important as well but is a totally separate thing) like a pencil or pen does.

"Write and Wipe" books for numbers, lowercase and uppercase letters.

There’s Just Something About Dry Erase Markers!

These books give children structure for these skills in a way that is not as intimidating since it wipes right off. This is a big deal for some children who are reluctant to write or draw because they realize that what they are putting down is not necessarily the way they want it to look. For a long time Andrew wouldn’t even try to draw or write, always asking me to do it or help him (which usually turned into me doing it anyway!) so it would be “right” in his eyes the first time. If I did convince him to just try, he would purposely draw it really big or make a scribble as if to say, “See?!? I told you I couldn’t do it! This sort of tool helps a great deal with that and made a huge difference for him when he saw he could just wipe a mark away with a tissue or paper towel. Made it into something that wasn’t a big deal to fix. Love that!!

Make Your Own

This type of activity is also something you could set up and do on your own without the book by using a sheet of paper with a sheet protector over the top. All you have to do is either draw or write the lines, letters or numbers that your child is ready for onto a sheet of white computer paper, slide the paper into a sheet protector and your child can use a dry erase marker and trace over. Wipe clean when you are finished and change out the paper to work on a something different! Many times I will look at books that are in stores to get ideas for how to build skills and tweak them so they are more interactive or kid-friendly (or  in our case “Andrew friendly” 🙂 ).

Using Within A My Obstacle Course

When including these as My Obstacle Course stations, I would choose one page or part of a page at a time, depending on what they are able to do.

Links:

Here are links to the Lakeshore Learning website:

Getting Ready to Print Practice Books

Printing Letters

Printing Numbers

Note: I have no connection to Lakeshore Learning, I am just sharing what I have found that has worked for us.

Engage, Encourage and Empower!


Balloon Tossing

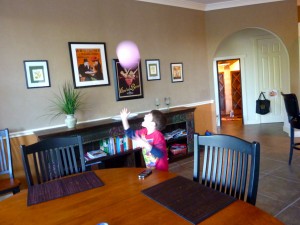
This is an idea that I tried years ago as a My Obstacle Course station activity when working on ball skills but heard about it again last week from Andrew’s Occupational Therapist so I thought I would share. I began using balloons when it became obvious to me that ball skills were going to be difficult for him. I knew that a balloon would move much slower than a ball giving him more time to track and catch it. I could also have a few blown up, giving him an opportunity to choose the color he wanted to play with.

His therapist is using this with him now because they are working on making and keeping eye contact as well as tracking an object as it is passed between him and other therapists and children. He has to watch her eyes to see when and where the balloon is going to go. Clever and fun!

Here are some pictures of him tossing and catching the balloon at home. He had spontaneously come up with a game of it being a pink fly that was flying around the room. For us this is huge because he had major bug anxiety last summer and even a little bit of pretend play involving an insect is a big deal! He tossed the balloon up and ran around trying to catch it before it landed on the ground. So fun to finally see some of this sort of play!

I love how big his mouth is while catching this!

A colorful balloon is the perfect tool for this because it is bright and moves slower, giving more time to react. Balloons are inexpensive yet always tend to make something more fun and festive, which is another reason it is a great add-in for a My Obstacle Course.

Engage, Encourage and Empower!


St. Patrick’s Hat “Search and Find”

My Obstacle Course Station Activity: St. Patrick's Hat "Search and Find"

I got this idea from a game that Andrew’s class had been playing called “Ned’s Head.” The idea for this and the “Ned’s Head” game comes from using the sense of touch to locate or identify an object. (Here is a google link to show what I’m talking about.)

Last year I found this St. Patrick’s Day themed hat in the dollar section of Target (I was just there today and they still have them!). When I bought it, I didn’t know what I would do with it but I knew it would come in handy for something. After looking through what skills I was working on and what sorts of things I could do with a hat like this, I decided to make my own Ned’s Head game (their’s costs $19.99, mine costs $1 when used with things we already have!)

I gathered up some objects…

Things I found around the house - toothbrush, straw, top, tissue, spoon, truck, cow

used some shamrock shaped calendar cutouts and wrote some clues. The clues were written to get him thinking about what the items are used for or certain characteristics that would be easy to detect by feel.

Clues written on cutouts.

When doing the station, we would read the clue, he would put his hand in and with “no peeking,” see if he could locate the object.

Variations:

  • This could be done in a very explicit way by using word names – “Find the ___.”
  • FInding an object that goes with something – ex. toothbrush and toothpaste.
  • Finding an object that goes with a certain function – ex. Find something you use to help you drink.

This is another way to add mystery and intrigue to My Obstacle Course while strategically working on skills that your child needs.

Engage, Encourage and Empower!


Super Simple Shape Sorting

Last year I was working with a mother who had a young child but was wanting ways to work with him without having to go out and buy all sorts of new toys and gadgets. One of the things that I found really helpful when I began doing this was going through our own closets and cupboards to use what we already had. I encouraged her to do the same! I reminded her that the station activities do not have to be complicated, in fact the more basic they are, focused on a certain skill, the better they are. This is an idea that I sent her to help her work with her child on recognizing and discriminating between different shapes.

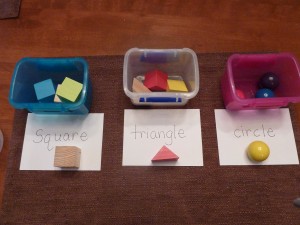
My Obstacle Course Station Activity: Shape Sorting

I gathered triangle and square shapes from a building block set and some balls from a hammering game we had. I placed them in a plastic container and provided three empty containers for the shapes to be sorted into. I took some paper and wrote out the shape name while also providing an example (including the example is optional) to add a literacy component and something they can use for reference.


Circle Label
Triangle Label
Square Label
Shapes sorted!

Remember that when you are first working on a skill or concept with your child and you aren’t sure where they are with it, start basic and simple. The most important thing is to give them a good foundation. It’s okay to see if they know it without the visual cue, but I recommend having one available. The purpose of this is not to trick them. If it is too easy, take note and make it more challenging the next time.

Engage, Encourage, and Empower!

March Themed Memory Match

My Obstacle Course Station Activity: March Themed Memory Match

This is a super easy March Themed Memory Match game to make. I used some shamrock shaped calendar cutouts and some St. Patrick’s Day themed stickers (I usually use colored index cards cut in half but grabbed these because I needed something quick and easy and these fit the bill perfectly!).

I know that I have said this before, but this game is great because it provides you with an easy way to work on basic game playing skills, such as turn taking, while also building vocabulary, strategy and concentration/memory skills!

You could use any kind of thematic stickers you want (They don’t have to be St. Patrick’s themed. Our teacher supply store has lots of different stickers ranging from letters, ladybugs, transportation or sports.) Spelling or vocabulary words could also be incorporated by writing them on the cutouts. The only thing you have to do is make a matching pair. Super easy!


Matching pair!

You can find the link to my original “How To” post on how to make a Thematic Memory Match here.

Engage, Encourage and Empower!

Tweezers

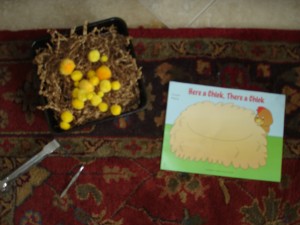
This is one of my all time favorite discoveries! I was looking for ways to build Andrew’s pincer grasp for handwriting and began using tweezers because they require using the same fingers and muscles for grasping a pencil. I paired the tweezers with colored puffs in different sizes because he would have to squeeze his fingers differently depending on the size of the puff. At first he would put the puff in the tweezers with his other hand and I had to help him using hand over hand. While it seems really easy, it was actually a challenge for him (and still is).

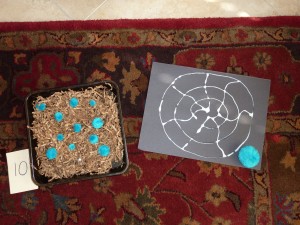
I came up with some basic stories to go along with needing to move the puffs to make it more purposeful than just moving puffs from one place to another. Most of the stories involve reuniting baby animals (small puffs) with their moms (larger puffs). You could also place different colored puffs out or in the container and have them only take out a certain color or size. I like to place the puffs in shredded paper to add a bit of a challenge.

My Obstacle Course Station Activity: Use the tweezers to help the baby chicks get back to their mother hen.
My Obstacle Course Station Activity: Help the baby spiders get back to their mom's web using tweezers.
My Obstacle Course Station Activity: Use the tweezers to help the baby spiders (aka small blue puffs) get back to their mom (aka large blue puff).
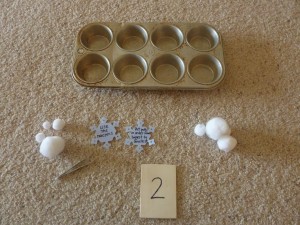
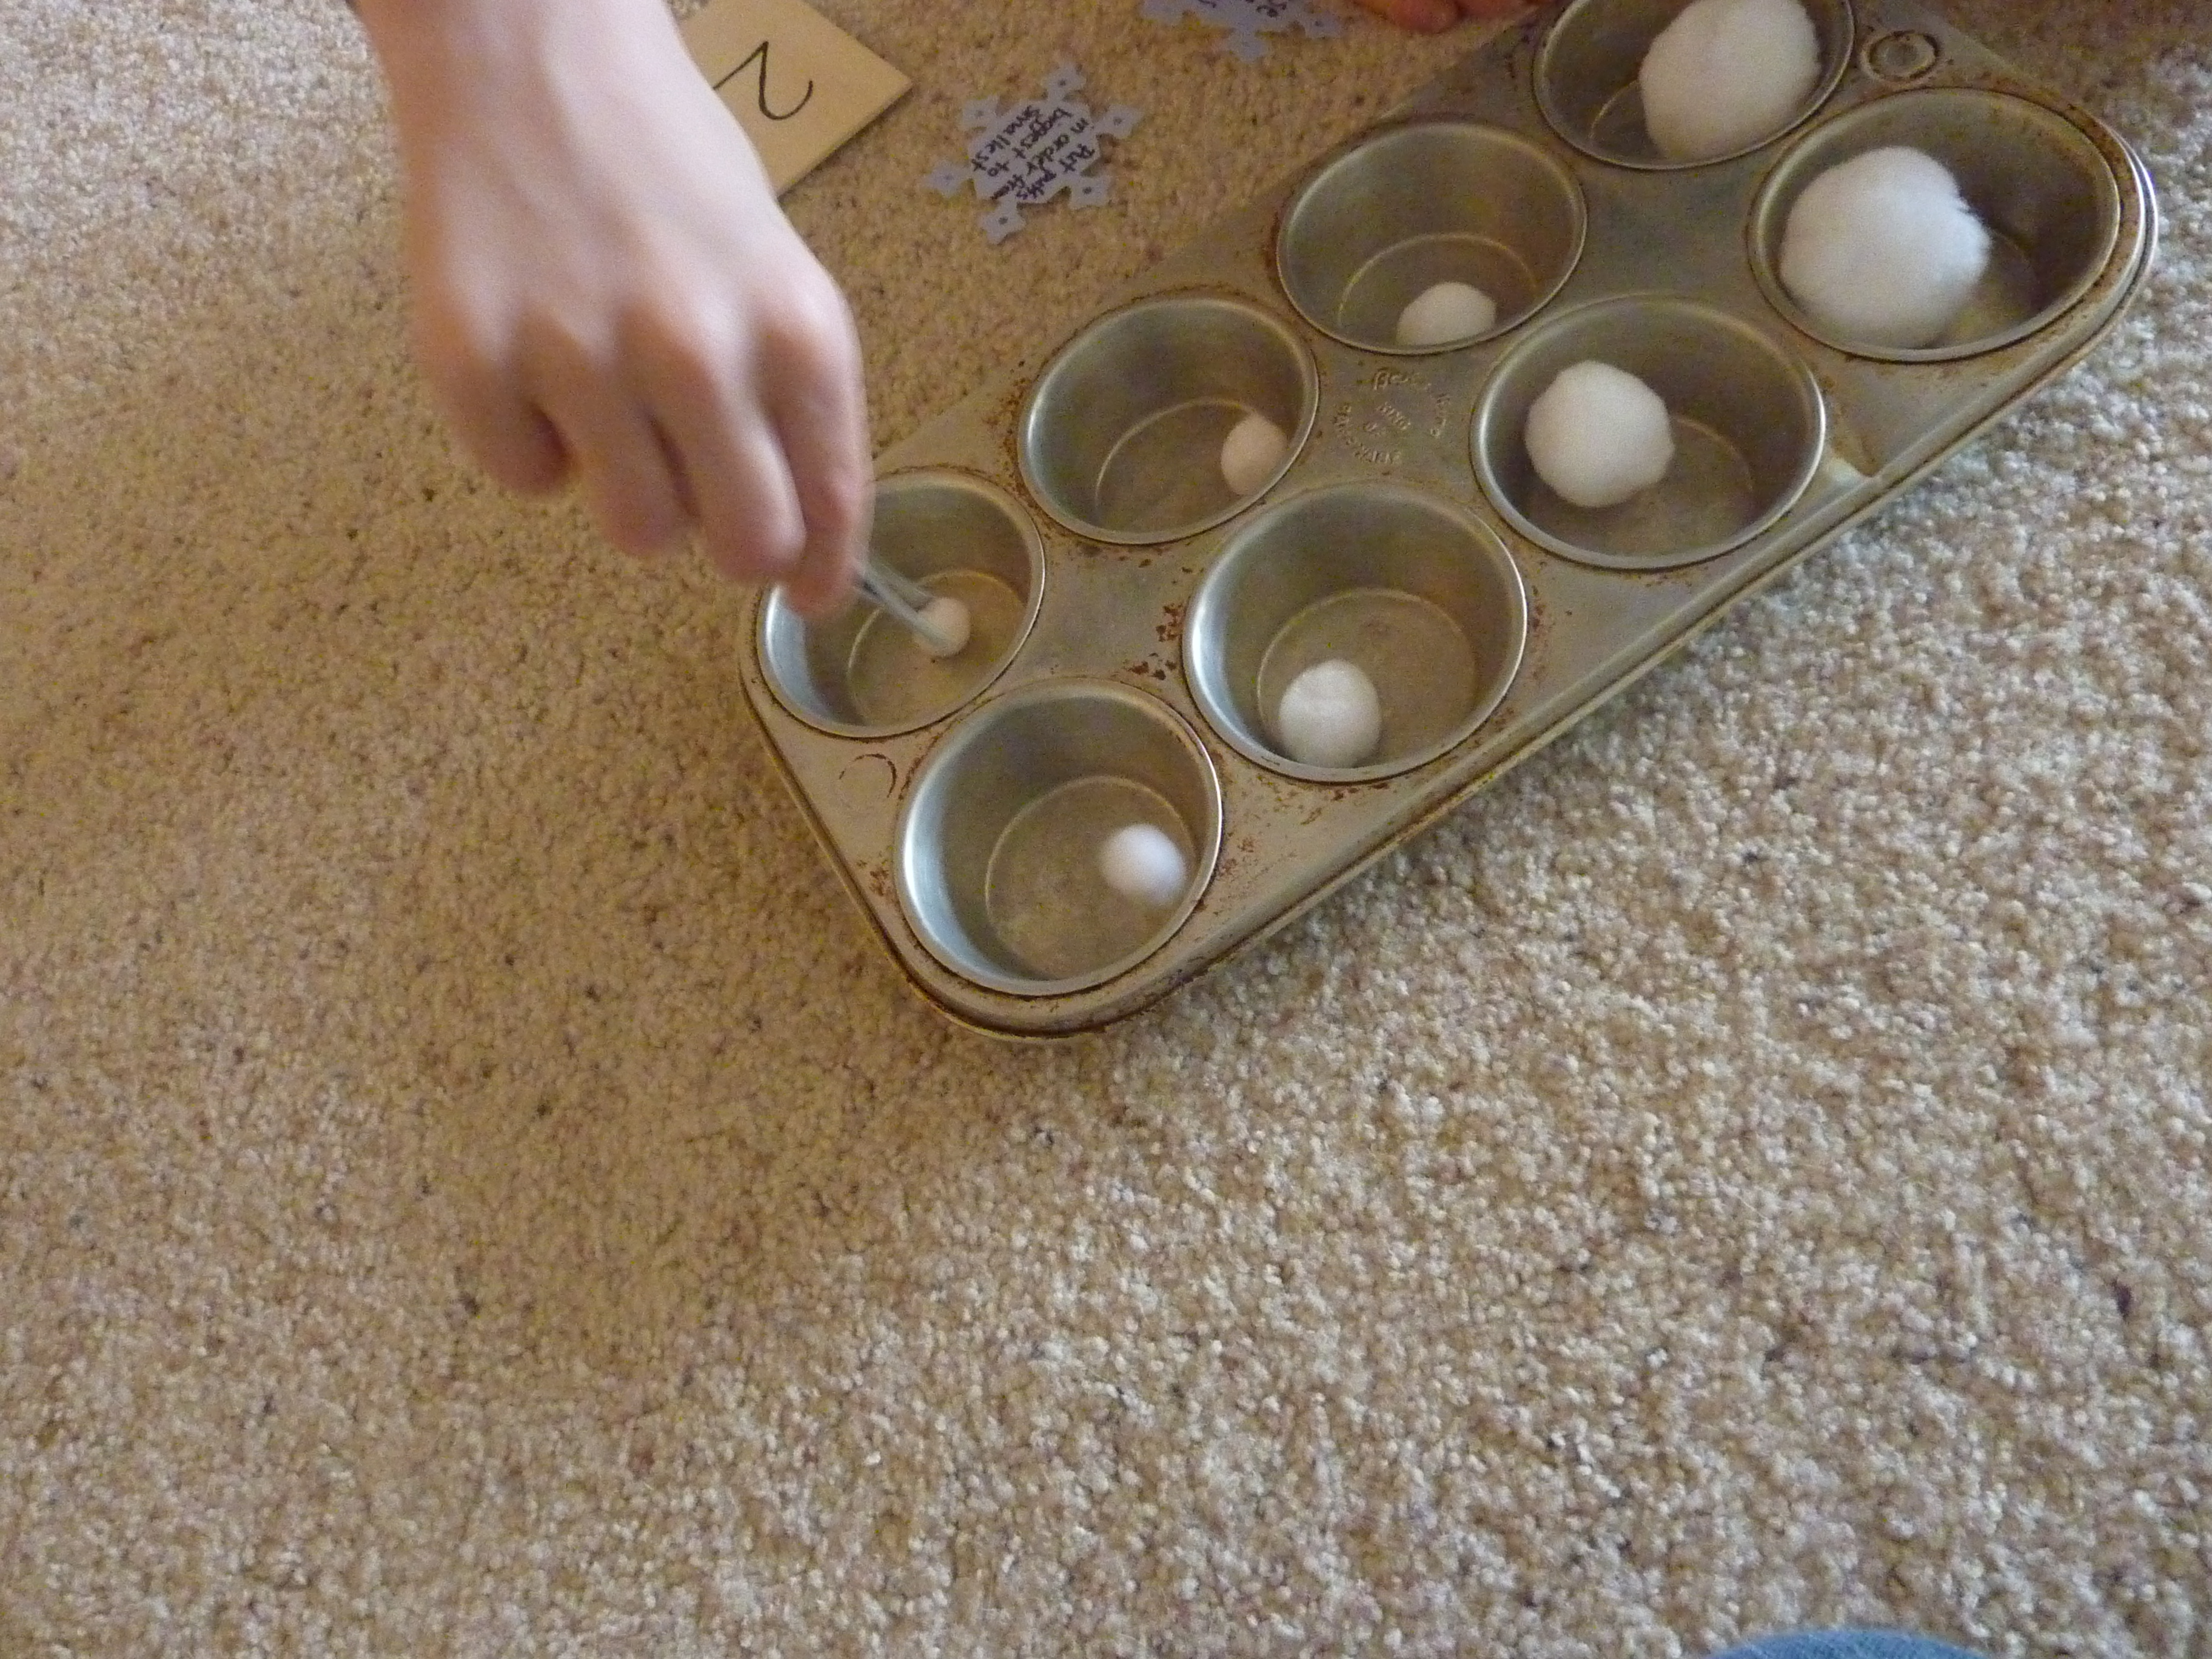
My Obstacle Course Station Activity: Use the tweezers to place the puffs in order from biggest to smallest. (Two sets of puffs, two rows of muffin tin.)


Andrew using the tweezers to put puffs in order from biggest to smallest.

Sometimes it just takes thinking outside of the box with items you already have and coming up with a simple story to make an activity that a child will find purpose and meaning in doing.

Engage, Encourage and Empower!


« Previous Page
Next Page »

Primary Sidebar

Obstacle Course Mom’s Blog

  • When People Stare, Mind Your Own Business
  • ABC’s of Peaceful Parenting Tele-class
  • What’s Perfect About This?
  • Exciting News!
  • Halloween

Categories

  • Blog
  • Cool Tool
  • Fine Motor
  • Getting Started
  • Gross Motor
  • Literacy
  • Math
  • My Obstacle Course Station Ideas
  • Oral Motor
  • Problem Solving
  • Sensory
  • Social Skills
  • Uncategorized

Archives

  • July 2012 (1)
  • May 2012 (1)
  • January 2012 (1)
  • November 2011 (2)
  • October 2011 (12)
  • September 2011 (14)
  • August 2011 (15)
  • July 2011 (19)
  • June 2011 (18)
  • May 2011 (21)
  • April 2011 (20)
  • March 2011 (22)
  • February 2011 (19)
  • January 2011 (21)
  • December 2010 (22)
  • November 2010 (6)

Meta

  • Log in
  • Entries feed
  • Comments feed
  • WordPress.org