• Skip to primary navigation
  • Skip to main content
  • Skip to primary sidebar

My Obstacle Course: Engage, Encourage and Empower

A fun, structured, systematic way to work on your child's strengths and weaknesses at home!

  • Welcome to My Obstacle Course!
  • What is My Obstacle Course?
  • Developmental Timelines
    • What Is My Child Ready For?
  • About Us
  • Blog
  • Contact Information

Archives for January 2011

Things That Go Together

One concept that comes up in evaluations and therapies is being able to determine what things go together (like hammer and nail, bowl and spoon, etc.). This usually involves the child looking at a picture of something and having to choose from another set of pictures what goes with it.  Being able to match things up like this requires the child to access prior knowledge and if there is no past personal experience than use reasoning skills and logic to determine what makes the most sense. The concept of matching objects with their functions or knowing what objects go together is part of a child’s cognitive development.

A Great Find To Build Knowledge Of Things That Go Together

This was a concept I wasn’t sure if Andrew was grasping when we first began doing My Obstacle Courses with him.  I knew this would fit in perfectly as a station activity and had lots of ideas for how to do so.  While I try to use real objects when I can to help reinforce and build concepts and skills with Andrew, there are some times when it’s not practical or possible and when that happens I love using things that are easy to set up and are also fun and kid-friendly.  I found some Winnie the Pooh Go Together cards at Walgreens (this was years ago and I’m not sure if they still sell them at Walgreens so I’ve attached an Amazon link: for Pooh’s Go Together Game click here ).

Winnie the Pooh Go Together Game Cards

I bought them because while they were appealing and inexpensive,

Some of the cards that "go together."

they were helping to build vocabulary as well as making connections between objects
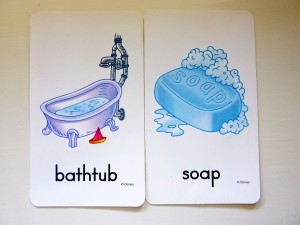
Matching pair.

and were self-checking.

Matching pair flipped over to make picture. If the picture doesn't work the cards are not a match.

When a game or activity is self-checking, it usually means that when the cards or cutouts are flipped over, they will either make a picture or give some indication through symbols (letters, numbers, shapes, or colors) that the choice was correct or incorrect.
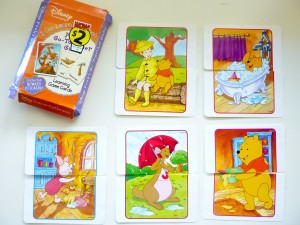
Self-checking pictures made when things that "go together" are matched up.

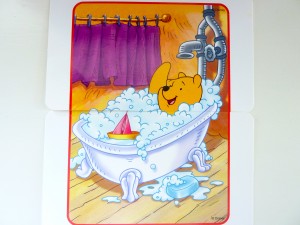
I like this because it takes the parent aspect out of the picture a bit – it’s not me determining that it’s right or wrong. If the picture doesn’t match, it is not the correct choice. With this particular game, when the correct match is made and the cards flipped over, they make a picture of Winnie the Pooh characters in a scene using the objects that “go together.”  This is great because we can find the objects in the picture and talk about how they are being used together to help out the characters.

Here is how we have used these cards as My Obstacle Course stations in our house:

My Obstacle Course Station Activity:  Match up the pictures that go together
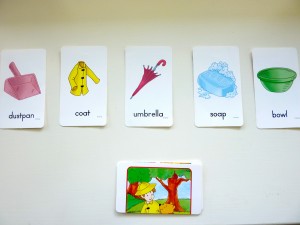
My Obstacle Course station activity: Match up the pictures that go together.
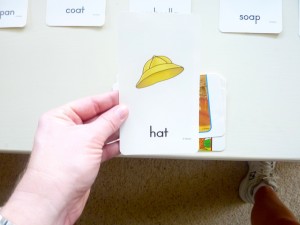
Flip the top card in the pile. Â It is a hat. Which of those pictures above goes with a hat?
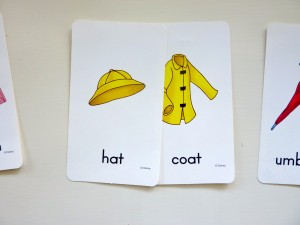
A hat and a coat go together. Flip them over to see if it's correct!
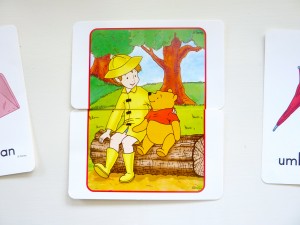
It's a match! Christopher Robin is wearing a hat and a coat. I think it must be about to rain because he also has rain boots on!

My Obstacle Course Station Activity:  Clothesline Clipping Things That Go Together

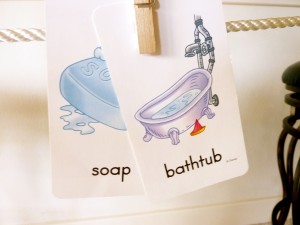
This station activity allows you to combine the concept of things going together with the fine motor skills and motor planning that are necessary when using clothespins to clip two cards onto the clothesline.  (Click here to see a previous post on using clothes lines.)

My Obstacle Course station activity: Clothesline Clipping Things That Go Together
Andrew matching up a bar of soap with a bathtub.
Things that go together matched and clipped onto the clothesline.

This is such an easy station activity to set up and can give a lot of information about a child’s ability to determine which objects go together. These cards allowed me to learn about Andrew’s knowledge of things and what experiences we needed to introduce him to. We could talk about how the things were being used with some favorite characters and most importantly, we were having fun together as we flipped the cards over to make pictures. I have to say my $2.00 Walgreens purchase proved to be a wonderful investment!

Engage, Encourage and Empower!
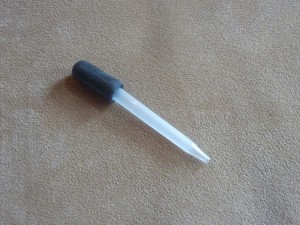
Droppers

Unexpected Find = Fun, Engaging Activity

I was wandering through the aisles of my teacher supply store and saw a package of these droppers in the science section.

Dropper found in the Science section of my teacher supply store.

I thought that they would be great to introduce a little bit of experimentation while also building his grasping skills.

Using same fingers as tweezers...
to build fine motor, squeezing skills.

My Obstacle Course Station Activity: Experimenting with Color

When teaching kindergarten I always loved teaching about the primary colors (red, yellow and blue) and how to use them to make the secondary colors (orange, green and purple).  The children were always so excited and amazed as though I were a magician magically creating different colors right before their eyes!

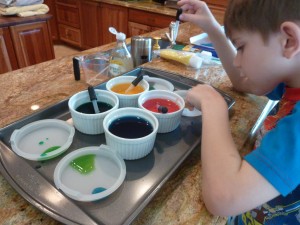
I decided that I would set up a My Obstacle Course station that would combine the droppers with making colors. This station activity was not only easy to set up and take down, it was also a huge hit!  Andrew’s exact words were, “This is fun. It is just like Easter!”

My Obstacle Course Station Set Up:

  • droppers
  • food coloring
  • 3 small bowls, cups or ramekins with some water
  • 3 small bowls, cups or ramekins that are empty
  • rimmed cookie sheet to catch spills
  • paper towel or old towel to wipe spills and hands

I used one of my rimmed cookie trays (I have to use them for something since I don’t bake!!), some ramekins (If you worry about breaking the ramekins, you could also use small Dixie or plastic cups or bowls.) and added a few drops of red, yellow and blue food coloring in: red, yellow and blue food coloring. I did this part with Andrew so he could also work on stirring but you could do this for them or ahead of time.  It is kind of cool for them to see the water take on the color of the food coloring drops.

We talked about the colors we were seeing as we added and stirred the food coloring. I told him he was going to use the dropper to get some colored water from one bowl, squeeze it into an empty bowl and repeat with a different color.

These are some questions I asked him as we were doing this:

  • What do you think is going to happen?
  • What color is going to be in the new bowl?
  • Which colors combine to make new colors?
  • What happens when you add more of one color?
Dropper in and squeeze! Look at his focus!!
Checking out the blue liquid in the dropper.
Checking out and commenting on the color he had made.

He used the droppers to combine red and yellow to make orange, yellow and blue to make green, and red and blue to make purple. He had a ball experimenting with these colors and had no idea that he was building skills like motor planning, fine motor grasping skills as well as going through the scientific method by questioning, predicting, experimenting and making conclusions based on his personal experience with the materials. All of that AND he was totally engaged and having fun with me.

Engage, Encourage and Empower!
Using A Mirror To Practice Speech Sounds

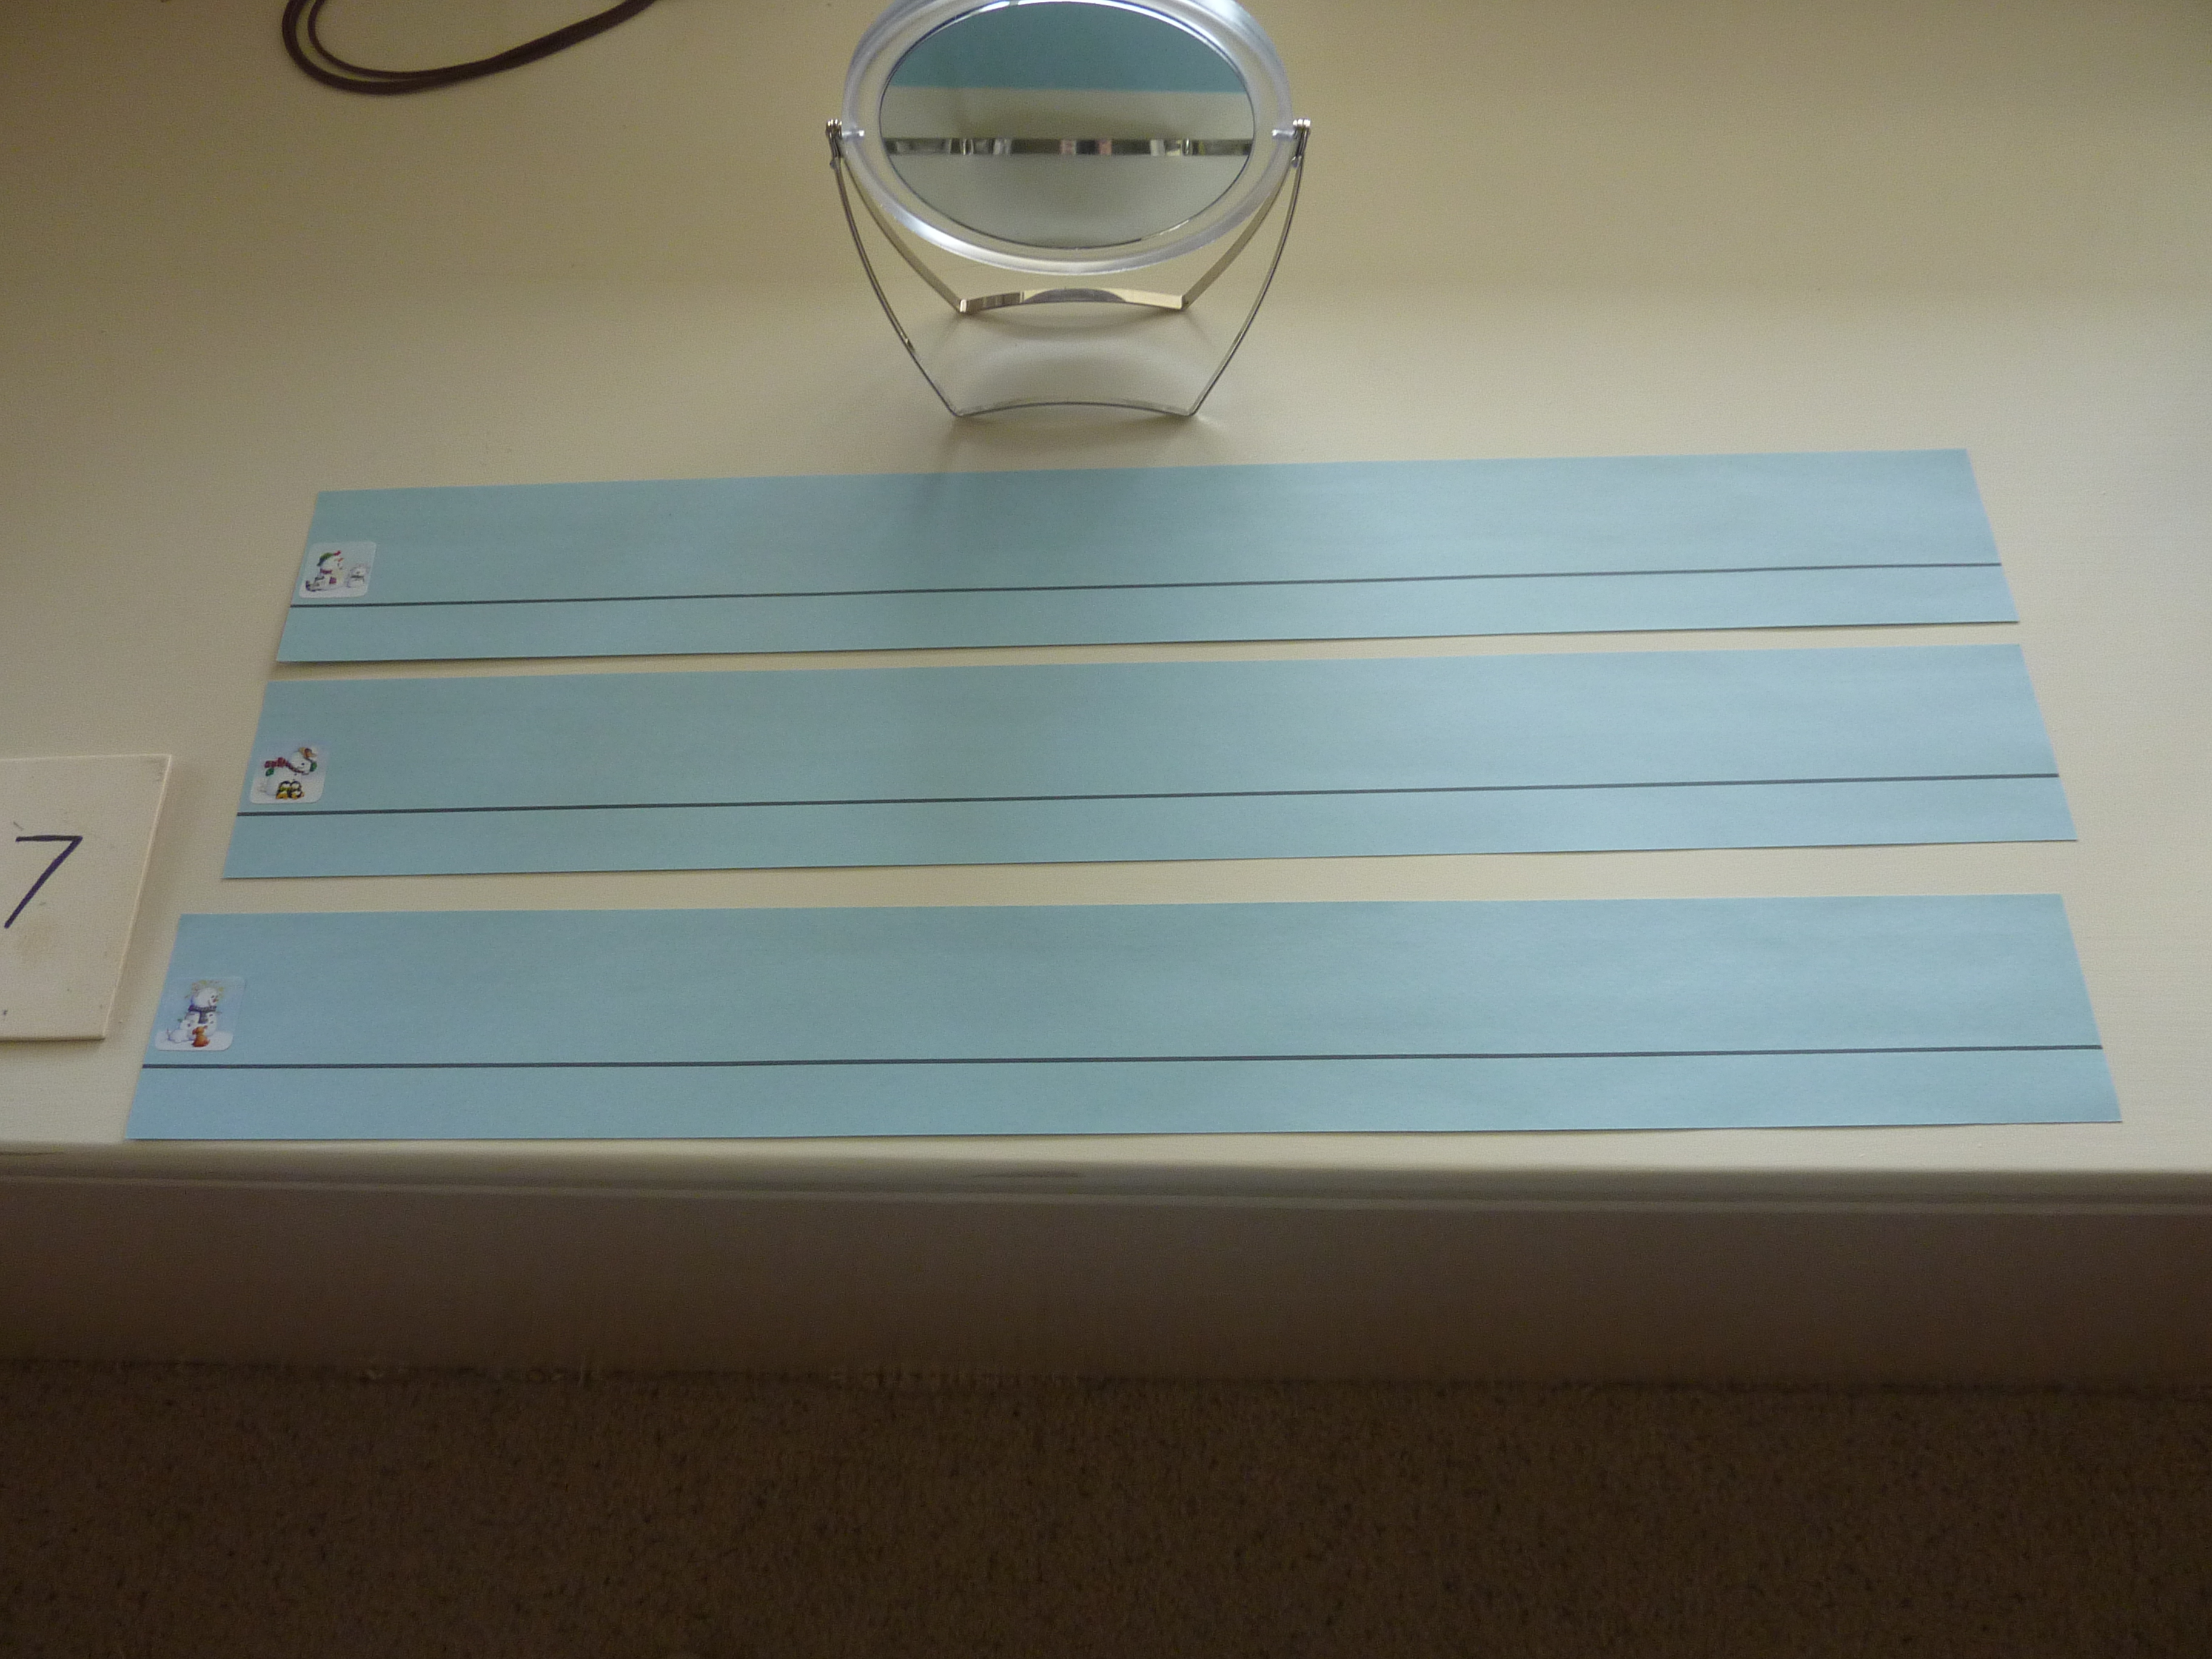
A basic mirror helps him see his mouth, particularly his lips and tongue, while practicing speech sounds.

This is a very basic idea that we have used quite a bit with Andrew.  He has apraxia of speech which makes it very difficult for him to make certain sounds. What comes naturally and easily over time with most children is something he has to practice A LOT! Part of that practice involves him being aware of what his tongue and lips are doing when trying to make a certain sound. This is where our hand-held mirror comes into play.  While we are doing My Obstacle Course station activities, such as playing games or doing repetition activities to practice his sounds, I have him look in the mirror to make sure that his mouth is doing what it is supposed to be doing. It is such an easy add-on but it makes a huge difference for him to see what it looks like when he is doing it.

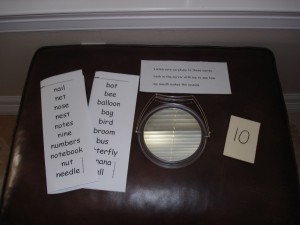
My Obstacle Course station activity: Â Listen and repeat while using a mirror to help see where the tongue and lips are for /n/ and /b/. The focus was not on being able to accurately say the whole word but rather the beginning sound.
A mirror to help him see where his tongue is with /th/ sounds. This My Obstacle Course station activity combined handwriting, literacy and oral motor skills. Â He looked at the sticker, wrote a sentence about it using some /th/ words, and then had to read it, making sure his /th/ was not an /f/ sound.

If your child struggle with speech sounds, I encourage you to try adding a mirror to your practice games or activities so they can see what it looks like when done correctly.

Engage, Encourage and Empower!

Coin Counting-Part 2

When I saw on Andrew’s weekly note from his teacher that he was going to be working on counting coins, I got excited, grabbed a cup full of mixed coins and was set.  That is until I remembered that the last time we had done skip counting by fives he struggled a bit.  (I will do a future post on ways to work on skip counting.)

Personal Note: Now, I could have disregarded this and gone ahead with my original plan but I did not want to set him up for failure. I truly believe that it is important to work on skills and concepts where he is and build from there.  When I began to focus on this is when I saw the most growth in him. This also reduces frustration on everyone’s part – his frustration is reduced because he is working on something he is ready for and has a chance to succeed at and my frustration is reduced because he is not resisting me due to his own frustration. I always remind myself that even though an activity we do may not seem to be the most challenging it could be, it can still be a challenge for him. Having gone the route of frustration many times resulting in miserable failure, I will choose building his knowledge, skills and confidence any day! Seems so basic and obvious yet the pressure to close the gap between a child with delays and their peers can often take over. If you can relate to this, take a deep breath and know that only by providing the foundation and starting where your child is in each developmental and academic area, can you help them progress and move forward.

I decided that I was going to use my cup of coins (pennies, nickels and dimes – not ready for quarters yet) but was going to break down the activity and be very direct with what he was doing, what it looked like and what it meant.  In my mind, this begins with the ability to sort the coins (which was yesterday’s post). They have to be able to recognize the difference between the coins first.

Easy Tool: Coin Counting Chart

I had some black construction paper out for another station activity but decided to use it for this instead. I used a gold marker I had gotten with my Christmas card pictures so he could see what I was writing.  (The paper and marker color does not matter.  I have done the same sort of thing with regular white printer paper and a black marker.) I labeled the pages, “Pennies – 1 cent/ $.01” and wrote out as many “penny” amounts as would fit in an organized way on my paper (see photo).

Penny counting helper

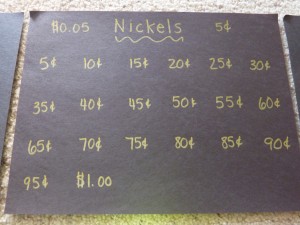
“Nickels – 5 cents/ $.05” and wrote out as many “nickel” amounts as would fit in an organized way on my paper (see photo).

Nickel counting helper

and “Dimes – 10 cents/ $.10” and wrote out as many “dime” amounts as would fit in an organized way on my paper (see photo).

Dime counting helper

The key here is to remember that you are helping provide them with a foundation of coins and their value.  The coin charts help to give them structure (a place to put the coins) and information they may need when counting the coins.  It is a tool to help build understanding.

My Obstacle Course Station Activity:  Sorting and Counting Coins

My Obstacle Course station activity: Sort and Count Coins (pennies, nickels and dimes)

My original intention for this station activity was for him to sort the coins and then place them on the sheets.  While we were doing this though, he began sorting them by placing them directly onto the sheets.  Much more efficient!

After the coins were sorted we counted all of the coins separately.  If he got stuck, all he had to do was shift the coin a bit to see the amount written below.

My Obstacle Course "Sort and Count" station completed.

The next step will be to figure out the value of all of the coins but my intention for this particular station activity was to see where Andrew was with his skip counting, primarily 5’s and 10’s. When we begin to count the coins for their combined total value, I will use fewer coins to make sure he is understanding when and why we switch value amounts. I’ll show you some ways to go about this in the next coin counting post!

We will continue this practice and will add quarters and paper money but for now I feel that he is really getting an opportunity to understand coins. Hearing how children really struggle with this concept makes me want to build this skill slowly and steadily.  Turtle steps are worth it if it means gaining a real understanding of something, especially with a concept that tends to challenge children.

Engage, Encourage and Empower!
**If you’d like to print them off of your computer, here are some charts I’ve made: Coin Counting Charts – clicking here will take you to another window, just click the words “Coin Counting Charts” and the PDF will open.

Coins – Part 1

Coin Counting

Coin counting is always a bit of a challenge for young children.  I think that perhaps the way coins are used in real life creates this urgent need to get them counting different coins all together right away before they have a chance to fully grasp what the coins are and what they represent on their own. (I happened to love sorting and counting coins when I was young and would do so to entertain myself at my grandparents’ house but that’s just me!) Now that credit and debit cards are the main form of payment for many people, children’s exposure to coins and paper money is much less which makes it even more of a challenge to reinforce this concept.

I have heard “Ughhh!” and “Oh no! He/she just cannot grasp this!” from parents when the concept of working on money comes up (same thing happens with the concept time!) but I want you to know that there are fun ways to build this skill at home with your child. I have a number of different ideas and will do separate posts on them so as not to overwhelm you with information.

Start At A Skill They Can Handle And Build From There

When introducing a new skill or if I know that Andrew is learning about something in school but don’t know how much he fully understands it, I start at a skill I know he can handle. The first My Obstacle Course station activity to work on coins with Andrew involved sorting the coins to make sure that he could recognize the difference between them. This is what we did…

My Obstacle Course Station Activity: Coin Sorting

The materials for a coin sorting station: coins, cups, bowls or plates to sort into and index cards (or Post-It Notes) to label where the coins go.

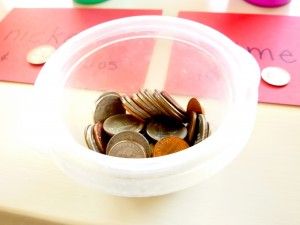
I provided a small cup of coins,

Coins (pennies, nickels, dimes and quarters)

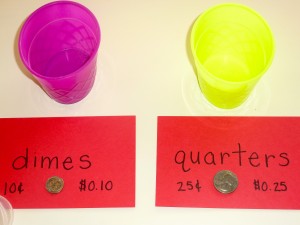
had some sorting cups (I love to use the colorful cups that come with Easter Egg Dying Kits!) with the word label, monetary value written and a sample coin in front so he could match it up to make sure he was sorting it into the correct bowl…

Cups with index card labels providing the name of the coin, the value and the coin itself (just set on top).
The other two cups with their cards.
My Obstacle Course station activity: Coin Sorting

and he sorted them.  We also discussed who was on each of the coins (Abraham Lincoln – penny, Thomas Jefferson – nickel, Franklin D. Roosevelt – dime and George Washington – quarter) to help distinguish them even more from one another while also sneaking in a little history 🙂 .

My Obstacle Course station activity: Coin Sorting complete

Note: I provide the sample coin because I am not doing this to trick him or test him to see if he can do it.  I want him to be making his choices and decisions based on the information he has available – just like we do as adults!!

You could also add “How many ___?” and/or “Which has the most/least?” questions but I would see how their attention span is after sorting. Having them count the coins to answer “How many ___?” could be a station activity on its own more to build counting skills.

Tomorrow’s post will focus on the next step of coin counting. Once they are able to easily sort the coins, it’s time to count them – not mixing coins quite yet – but counting coins and their values.

Engage, Encourage and Empower!

Recognizing Silly Things

Andrew has been getting the High Five magazine (the Highlights magazine’s version for younger children) for a few years now and he always had his favorite section that he’d flip to right away – Hidden Pictures. One day I was looking at it with him and we came across the “That’s Silly!” section and I began asking him what kinds of things were there that were silly. He only pointed to maybe one or two things and I was surprised. I pointed to something that was definitely not real and asked him if that was silly and he said, “No.” Was he looking at this picture as though everything in it made sense? Did he understand what “silly” meant? All sorts of questions ran through my mind and I needed to find out more about this!

Hmmm…perhaps this was another concept that I would have to be a bit more direct with and got an idea for how to do this. I got on my computer while looking at the “That’s Silly!” page and wrote a list of things for him to find.

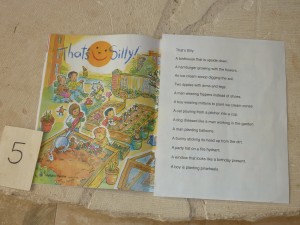
High Five magazine's That's Silly with silly things listed out

I used this as a My Obstacle Course station activity and we would read the silly things for him to find, he would scan the picture to find it and we would say, “That’s Silly!” I would be able to see if he could find and recognize it within the picture. He didn’t need to be able to speak to show he knew this because he could point to it. We would then talk about why it was silly and didn’t belong. Once I got going, I also realized that by doing it in this way I was also helping to build language skills and vocabulary through my detailed descriptions.

Andrew looking for silly things

It was an absolute hit with him and this soon became a favorite activity. One day, when the new issue came, he flipped to the “That’s Silly!” page and yelled out, “A squirrel eating an ice cream cone?!?  That’s silly!”

My Obstacle Course station activity: Finding silly things.

Why is this a big deal?

It is building reasoning skills so that he is able to distinguish things that are real and things that are not possible in the real world (non-fiction vs. fiction). Some things belong in certain situations or scenarios and some things do not. They can be combined to create funny stories and to act things out but I wanted him to know the difference. I was hoping that by providing him with some structure initially, telling him something he may have been thinking all along but just didn’t understand (for all I know he was sitting there thinking, “Hmmm…a mouse waiting in line at the Post Office.  Seems a bit odd but it is drawn on this picture so it must be true.”), that he would begin to recognize things that were out of place and be able to talk about why they didn’t fit.  These are just some basic skills that some children learn naturally and other children need them more spelled out. With Andrew, things need to be direct, not implied, and in this case “silly things” noted so he could begin to understand and process the rules the way his brain works.

It’s times and skills like this that remind me that building certain skills sometimes looks a bit different in our house but what matters is to start with the basics, be explicit with what the expectations are and what we are looking for, provide examples and opportunities to practice, sometimes more than typically developing peers, and that is ok!  What matters is that he learns the same things as everyone else, just at his own pace.

Engage, Encourage and Empower

Next Page »

Primary Sidebar

Obstacle Course Mom’s Blog

  • When People Stare, Mind Your Own Business
  • ABC’s of Peaceful Parenting Tele-class
  • What’s Perfect About This?
  • Exciting News!
  • Halloween

Categories

  • Blog
  • Cool Tool
  • Fine Motor
  • Getting Started
  • Gross Motor
  • Literacy
  • Math
  • My Obstacle Course Station Ideas
  • Oral Motor
  • Problem Solving
  • Sensory
  • Social Skills
  • Uncategorized

Archives

  • July 2012 (1)
  • May 2012 (1)
  • January 2012 (1)
  • November 2011 (2)
  • October 2011 (12)
  • September 2011 (14)
  • August 2011 (15)
  • July 2011 (19)
  • June 2011 (18)
  • May 2011 (21)
  • April 2011 (20)
  • March 2011 (22)
  • February 2011 (19)
  • January 2011 (21)
  • December 2010 (22)
  • November 2010 (6)

Meta

  • Log in
  • Entries feed
  • Comments feed
  • WordPress.org