Years before I had Andrew, I was a teacher. Â I taught kindergarten for 4 years and loved it! Â I loved it because of the emphasis on play and discovery when given common household items, such as buttons. Â One year I requested that families send in any unused buttons that they may have lying around their drawers or sewing kits. Â I filled half of a shoebox with a marvelous collection of buttons. Â The children would have a ball playing with and sorting the buttons. Â They were encouraged to find new and unique categories for a button sort. Â An activity like this helps with visual discrimination and also basic problem solving, being able to group like items in a logical manner. Â My students always had so much fun doing this!
Now this might just be me, but when I was a child, I loved playing in button boxes.  I recall mine being stored in an old cigar box and remember quite clearly how it was kind of a treasure hunt each time the box was opened.  I would sort them by color, shape, size and the number of holes they had.  I have my own collection of buttons now to use in the same way with Andrew and you may have your own that you can use with your child.
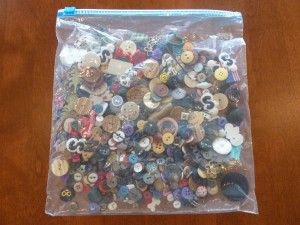
Using buttons as a station in My Obstacle Course:
- Pour some of your buttons into a bowl
- Look to see what ways they could be sorted and choose 3 or 4 ways, including a misfit category for any buttons that don’t belong in the other categories
- Write those categories on a piece of paper or on an index card, providing a picture clue as well (nothing fancy, anyone who has seen me draw knows I am an expert at stick figures!). Â This not only helps them to know how to sort, but also shows them what the category word looks like.
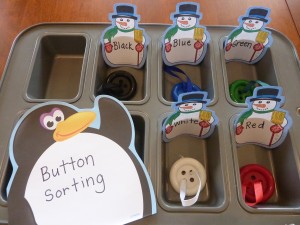
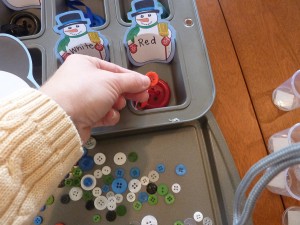
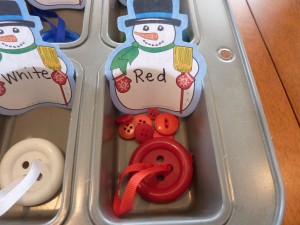
- Provide a specific place for them to place the buttons- muffin liners and the cups from Easter Egg dying kits work great!
This only takes a few minutes and you have a station ready for them to get sorting!
No Buttons? Â No Problem!
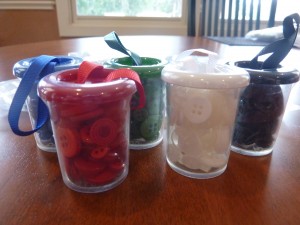
I was at Michael’s the other day and in the $1 section I came across these cute containers of buttons. Â Each one held buttons of a certain color and when I looked closely, there were a variety of sizes, they had different styles and had either 2 or 4 holes. Â They came in red, black, blue, white and green and I thought they would be perfect for an Obstacle Course sorting station!

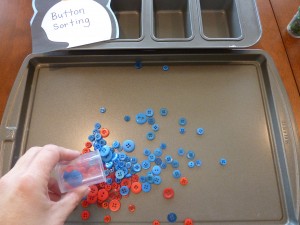
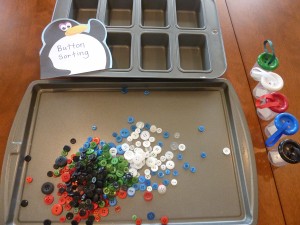
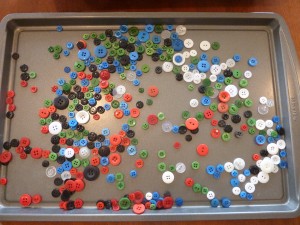
Sorting By Color

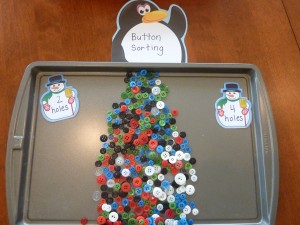
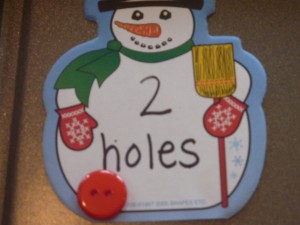
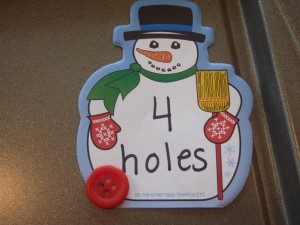
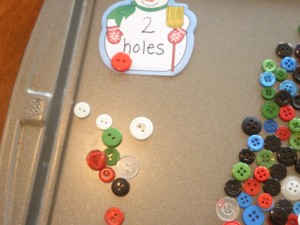
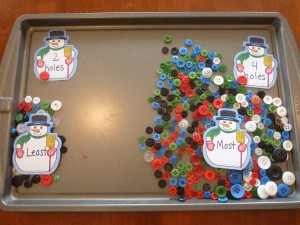
Sorting By the Number of Holes

Extension:
After the buttons are sorted you could have your child count them, one by one if that is what they are able to do, or by groups of 2, 5 or 10 to work on skip counting.